One of my all-time favorite foods – pickles, dill pickles. They’ve got the perfect crunch, a nice salty vinegary taste, and if you’re lucky a little bit of spice! These quick dill pickles just take about two hours and are so ridiculously easy, your five-year-old could make them. You might consider help them with the chopping part, but you get it.
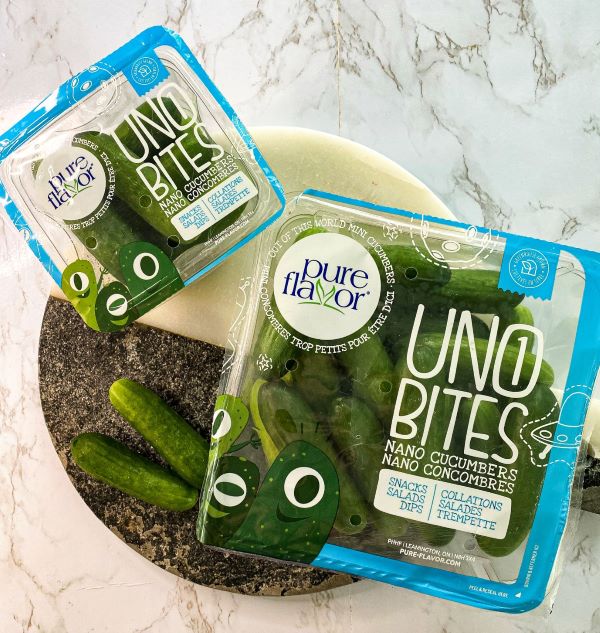
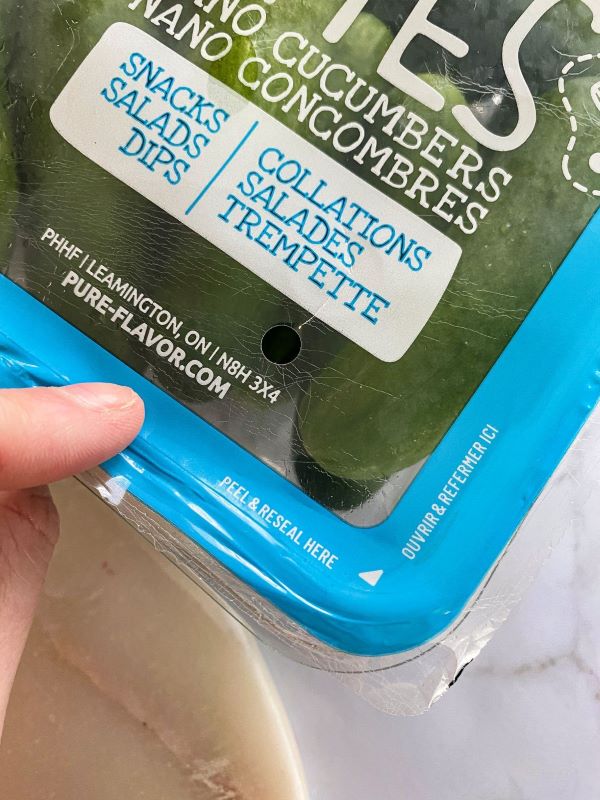
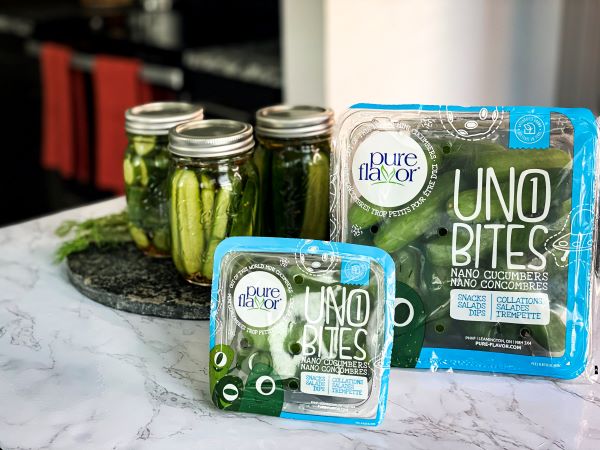
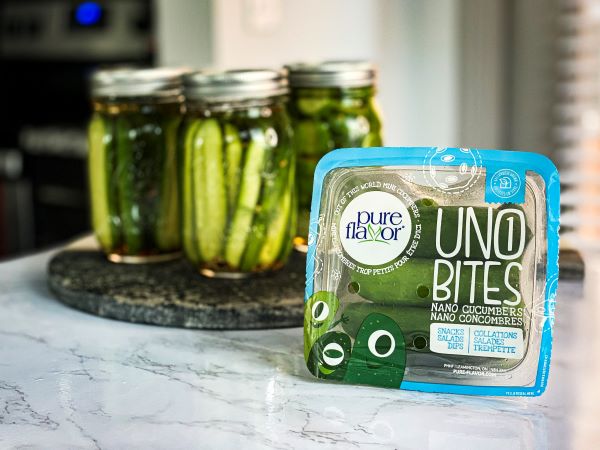
First thing to consider for a good dill pickle – a good cucumber. You want something fresh, crisp, and just the right size for your jar. I really enjoyed using the Pure Flavor® Uno Bites Nano Cucumbers for this recipe! They were just the right size, and I could hardly believe how crisp and fresh they are. The packages are also completely resealable, which I LOVE. It’s just me and my husband at home, so having something that I can seal back up and keep nice and fresh is just perfect.
I probably ate 3 or 4 (or maybe 5, shh!) of these little tiny cucumbers while making this recipe, and I’m not ashamed about it at all.
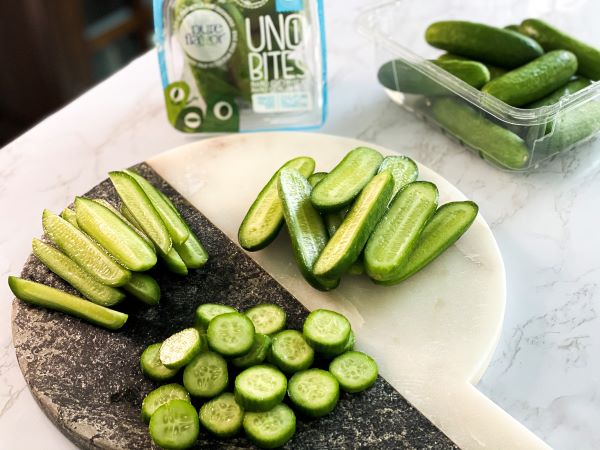
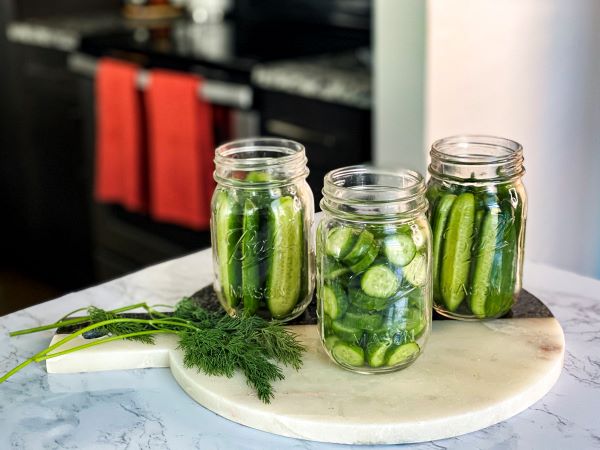
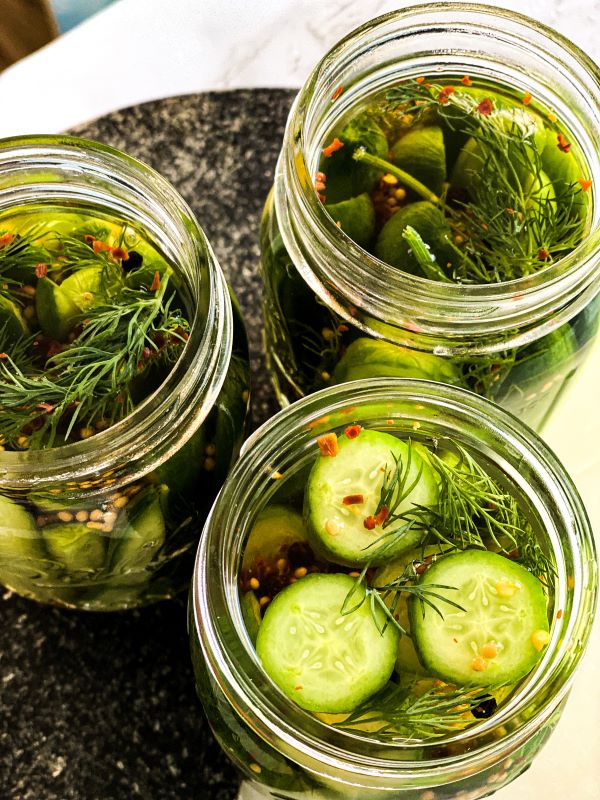
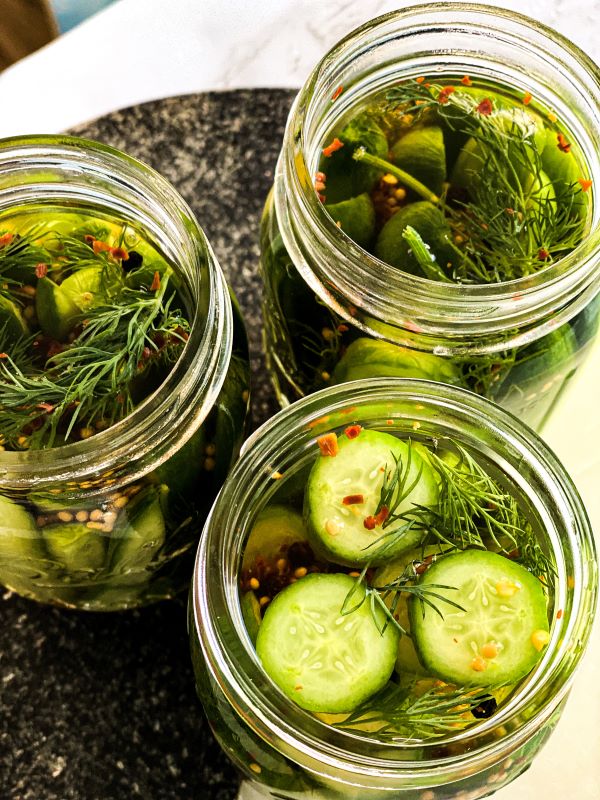
For this recipe, I made 3 different shapes of pickles – halves, spears, and slices. I have a fall party planned for this weekend, and I wanted several different shapes of pickles for our charcuterie board. If you don’t have freshly made pickles on your charcuterie board, what are you even doing?!

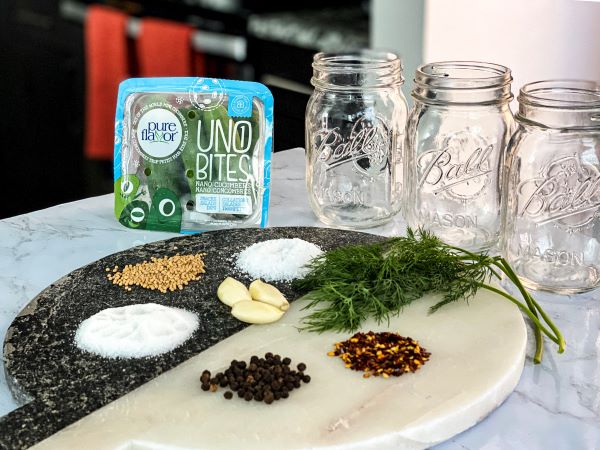
Gather a few supplies and ingredients before you get started:
- 3 Sterilized 12oz Mason Jars (you can also use any old pickle or olive jars you may have in your kitchen!)
- A Medium Saucepan (try to use one with a pouring lid, or you’ll need a funnel for a clean pour)
- 1.75 lb Pure Flavor® Uno BitesTM Nano Cucumbers
- 3 Cups Filtered Water
- 1 ½ Cup White Vinegar
- 3 teaspoon Kosher Salt
- 3 teaspoon White Sugar
- 1 teaspoon Red Pepper Flake
- 1 teaspoon Black Peppercorns (multi-colored peppercorns will work for this too)
- 1 teaspoon Mustard Seeds
- 3 Garlic Cloves
- 10 – 12 Sprigs of Fresh Dill
How to Sterilize a Mason Jar:
It’s incredibly important to have a squeaky clean jar when pickling, so no harmful bacteria grows as your ingredient pickles. The easiest way to sterilize a mason jar, in my opinion, is on the stove.
Fill a large pot with water, bring the water to a boil, slowly place the jars down into the boiling water (with tongs please!), make sure the water covers the jars, and boil for 10 minutes.
Using the tongs, remove the jars after 10 minutes and place them on a clean towel. When the jars are cool enough to handle, wipe them clean and allow them to air dry completely on the towel.
Now we’re squeaky clean, and we can move on!
- Start with chopping your nano cucumbers.
- For the jar of halves, I obviously just halved each cucumber. I used about 6 for my jar.
- For the spears, I cut each cucumber in half long ways and then once again to create the spears. I used about 8 – 10 for the spears.
- For the sliced pickles, I used about 12 cucumbers. I just sliced them into about half inch slices.
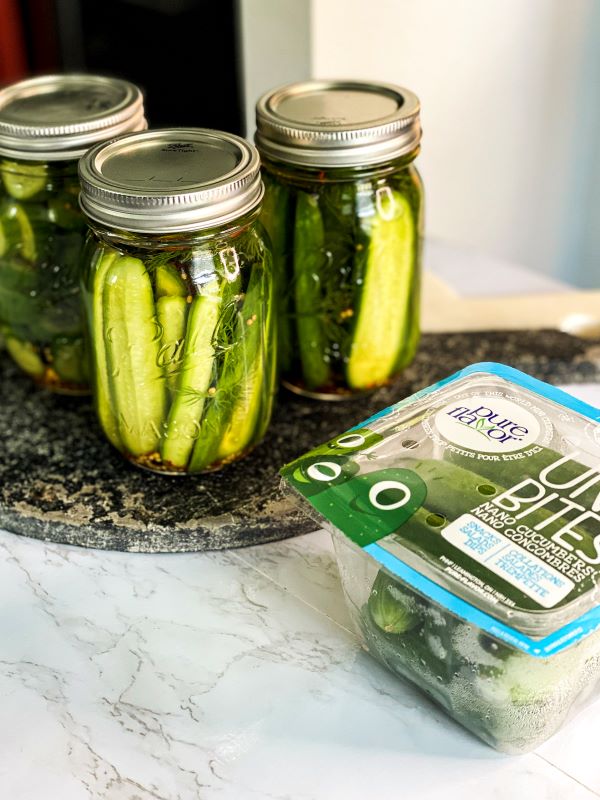
- Stuff each jar with the cucumbers, a clove of garlic, and 4 or 5 sprigs of fresh dill.
- You can chop up each garlic clove if you’d prefer, I like to just leave mine whole.
- You’ll want to leave about half an inch of free space at the top of each jar for the pickling liquid.
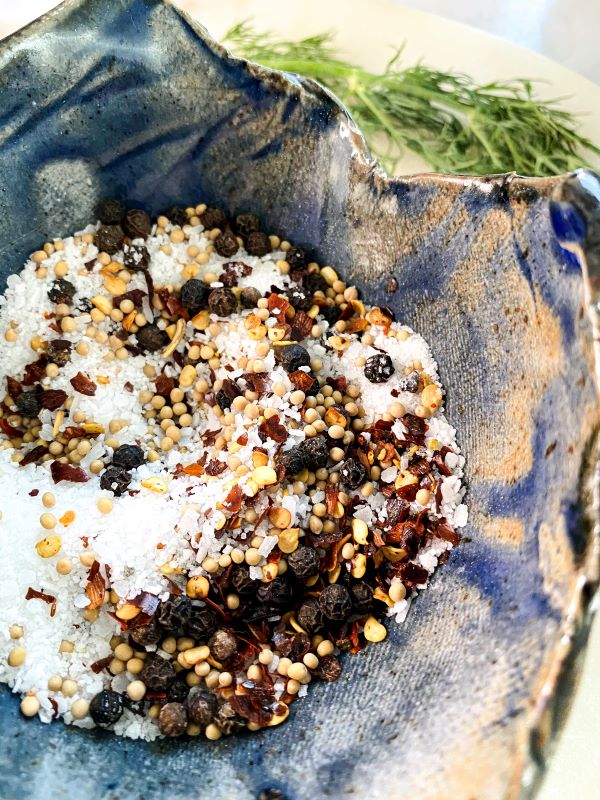
- Blend the salt, sugar, red pepper flake, peppercorns, and mustard seeds in a small bowl. Can we just take a minute to admire the sheer beauty of pickling spices?! Had to grab a close up!
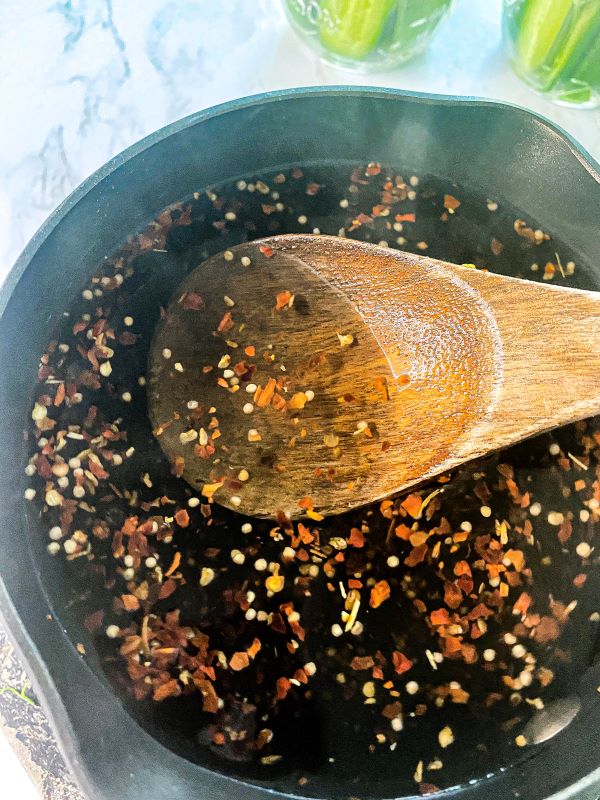
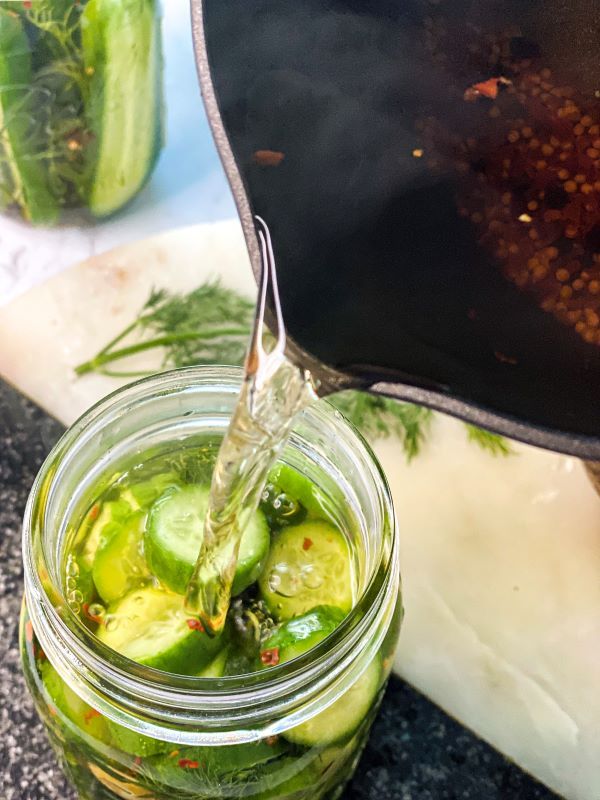
- Bring the filtered water to a boil on the stove, turn off the heat, add the vinegar and pickling spices and stir to dissolve.
- Once the salt and sugar has dissolved, immediately pour the pickling liquid into each jar. You’ll want to fill it up as much as you can, leaving enough room to seal on the lid obviously.
- Dill pickles don’t necessarily need to be sealed, and usually don’t last very long, so just let them cool in the refrigerator for at least two hours. You’ll want to refrain from opening the jar during that time to make sure the flavors have enough time to blend and for the liquid to completely cool.
How to Use Your Homemade Quickles:
As mentioned, I’ll be using mine as a charcuterie board accessory, but homemade Quickles are delicious in everything! For a tuna sandwich, on a juicy hamburger, with some crackers and cheese, even as a little topper for your deviled eggs!
If you try this recipe out, don’t forget to post a rating and comment!
I’d love to see your pictures on Instagram too! Tag @a_toastedcrumb and @pureflavor!
This post is sponsored by Pure Flavor®. Learn more about Pure Flavor and their commitment to supporting healthier lifestyles by visiting their website.


Leave a Reply