This DIY Strawberry Tower was so easy to build with the help of the Dollar Store! Building this sweet homemade strawberry planter was so simple and cost effective! It will be the perfect vessel to grow big beautiful strawberries in all season long!

I've had some success with strawberry planter baskets over the years and was eager to find a better way to grow more strawberries this year, so I decided to erect a tower to grow over 20 strawberry plants in!
Jump to:
- Watch the video here!
- Supplies for Making a DIY Strawberry Tower:
- Steps to Build a DIY Strawberry Tower:
- Why garlic?
- How to Plant Garlic:
- How to Plant Bare Root Strawberry Plants:
- Using Hay to Protect Your Strawberries:
- How Much Does a Strawberry Tower Cost?
- Interested in creating a small dream garden in your backyard? I've got you!
I knew I didn't want to spend a fortune on this, so to the internet I went! I saw several articles about stacking pots on top of one another to create layers for the strawberries to spill over, which I just loved. I'm also pretty familiar with the lettuce towers that have become popular in recent years and thought combining the two would be great for my strawberries this year!
Watch the video here!
I'll start by saying, this is experimental and I am excited (and hopeful!) to update this post at a later date and say I'm successful! Want to join me on my strawberry journey this summer and make your own?
Supplies for Making a DIY Strawberry Tower:
- 5-6 ft 1.5 inch PVC Pipe
- 9 3 section planters from the Dollar Store
- 1 pot (similar base size to the 3 section planters) from the Dollar Store
- Drill
- 2 inch hole saw drill bit
- Rubber mallet
- 15 Strawberry plants (bare root) - I got 2 varieties, regular and pink flamingo strawberries!
- 6 Strawberry Plants
- 6 Garlic Cloves
- Soil and Compost
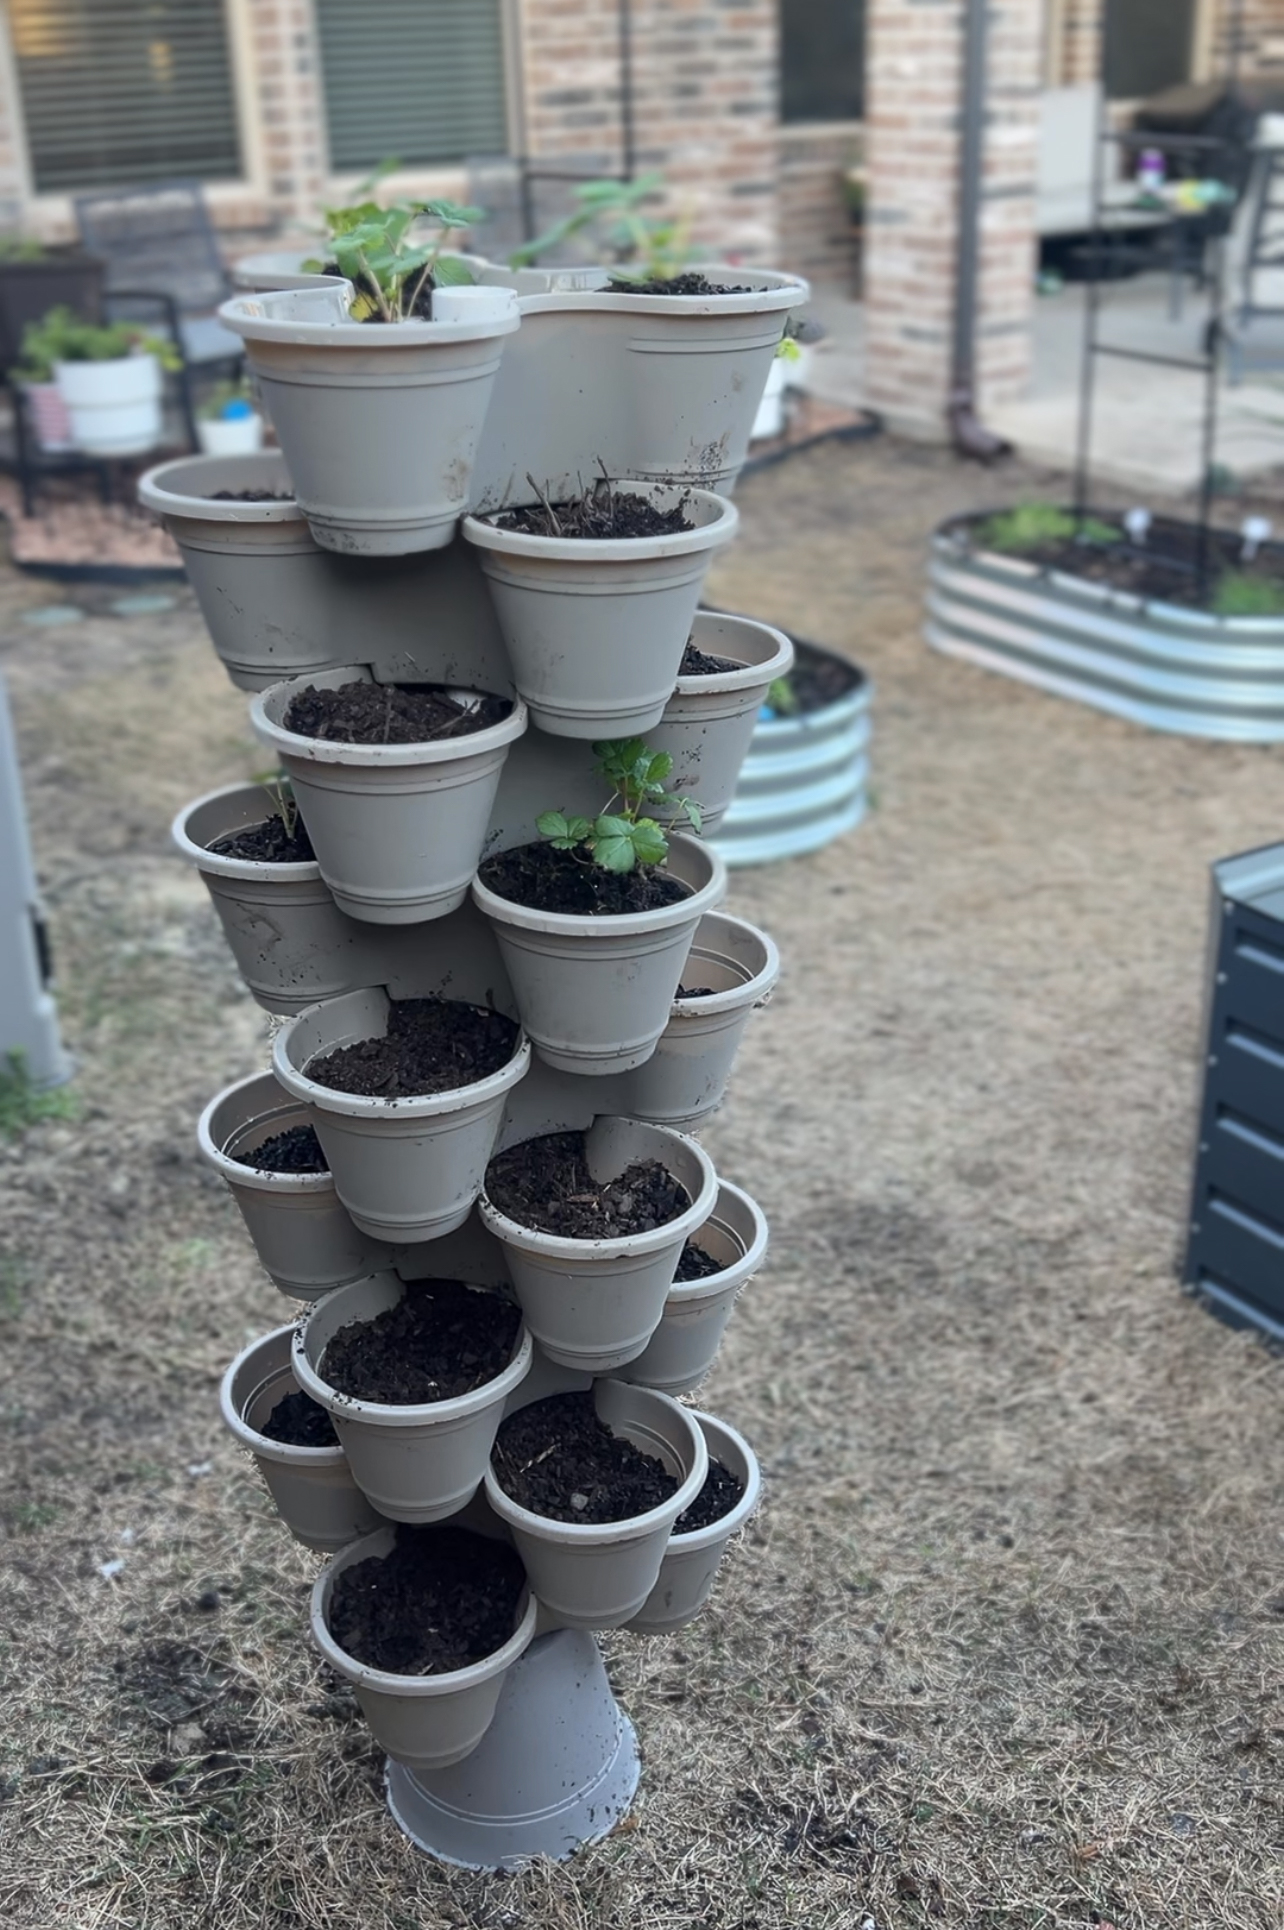
Steps to Build a DIY Strawberry Tower:
Start with cutting a hole in the bottom of each of the 3 section planters and the pot with the 2 inch hole saw drill bit. Be careful, the planters can be a little fragile for a drill!


Most of these planter pots will also have small drainage holes that can be punched out in the bottom. Gently punch these out to allow for appropriate drainage for your plants.
Find a sunny area in your backyard (strawberries thrive in the sun!), dig a small hole, and gently pound the PVC pipe into the ground using a rubber mallet.
Slide the pot onto the pole, upside down, and then stack all of the 3 section planters on top of the pot.

Fill each of the 3 section planters with a mixture of compost and potting soil. Add less soil mixture to the spots that you'll be placing your established strawberry plants.
If you want a harvest all around the same time, you could always build the tower with all established strawberry plants from your local nursery, but I wanted a rolling supply of strawberries. So I planted two sections of established strawberry plants, and 5 sections of bare root strawberry plants, and 2 sections of garlic.
Why garlic?
Garlic is a great companion plant for strawberries! Garlic helps deter pests and common diseases for strawberries. You can place them throughout your strawberry plants or centralized to one area. I placed mine at the base of my tower.

How to Plant Garlic:
You can plant the garlic cloves 2 at the top of the soil, with the root facing the bottom and the tip of the garlic clove just barely peeking out of the soil.
How to Plant Bare Root Strawberry Plants:
Bare root strawberry plants look very strange, dead on arrival almost. Rinse these odd looking roots clean with warm water and then separate them. (Some of them come with rubber bands around them, be sure to remove those.)
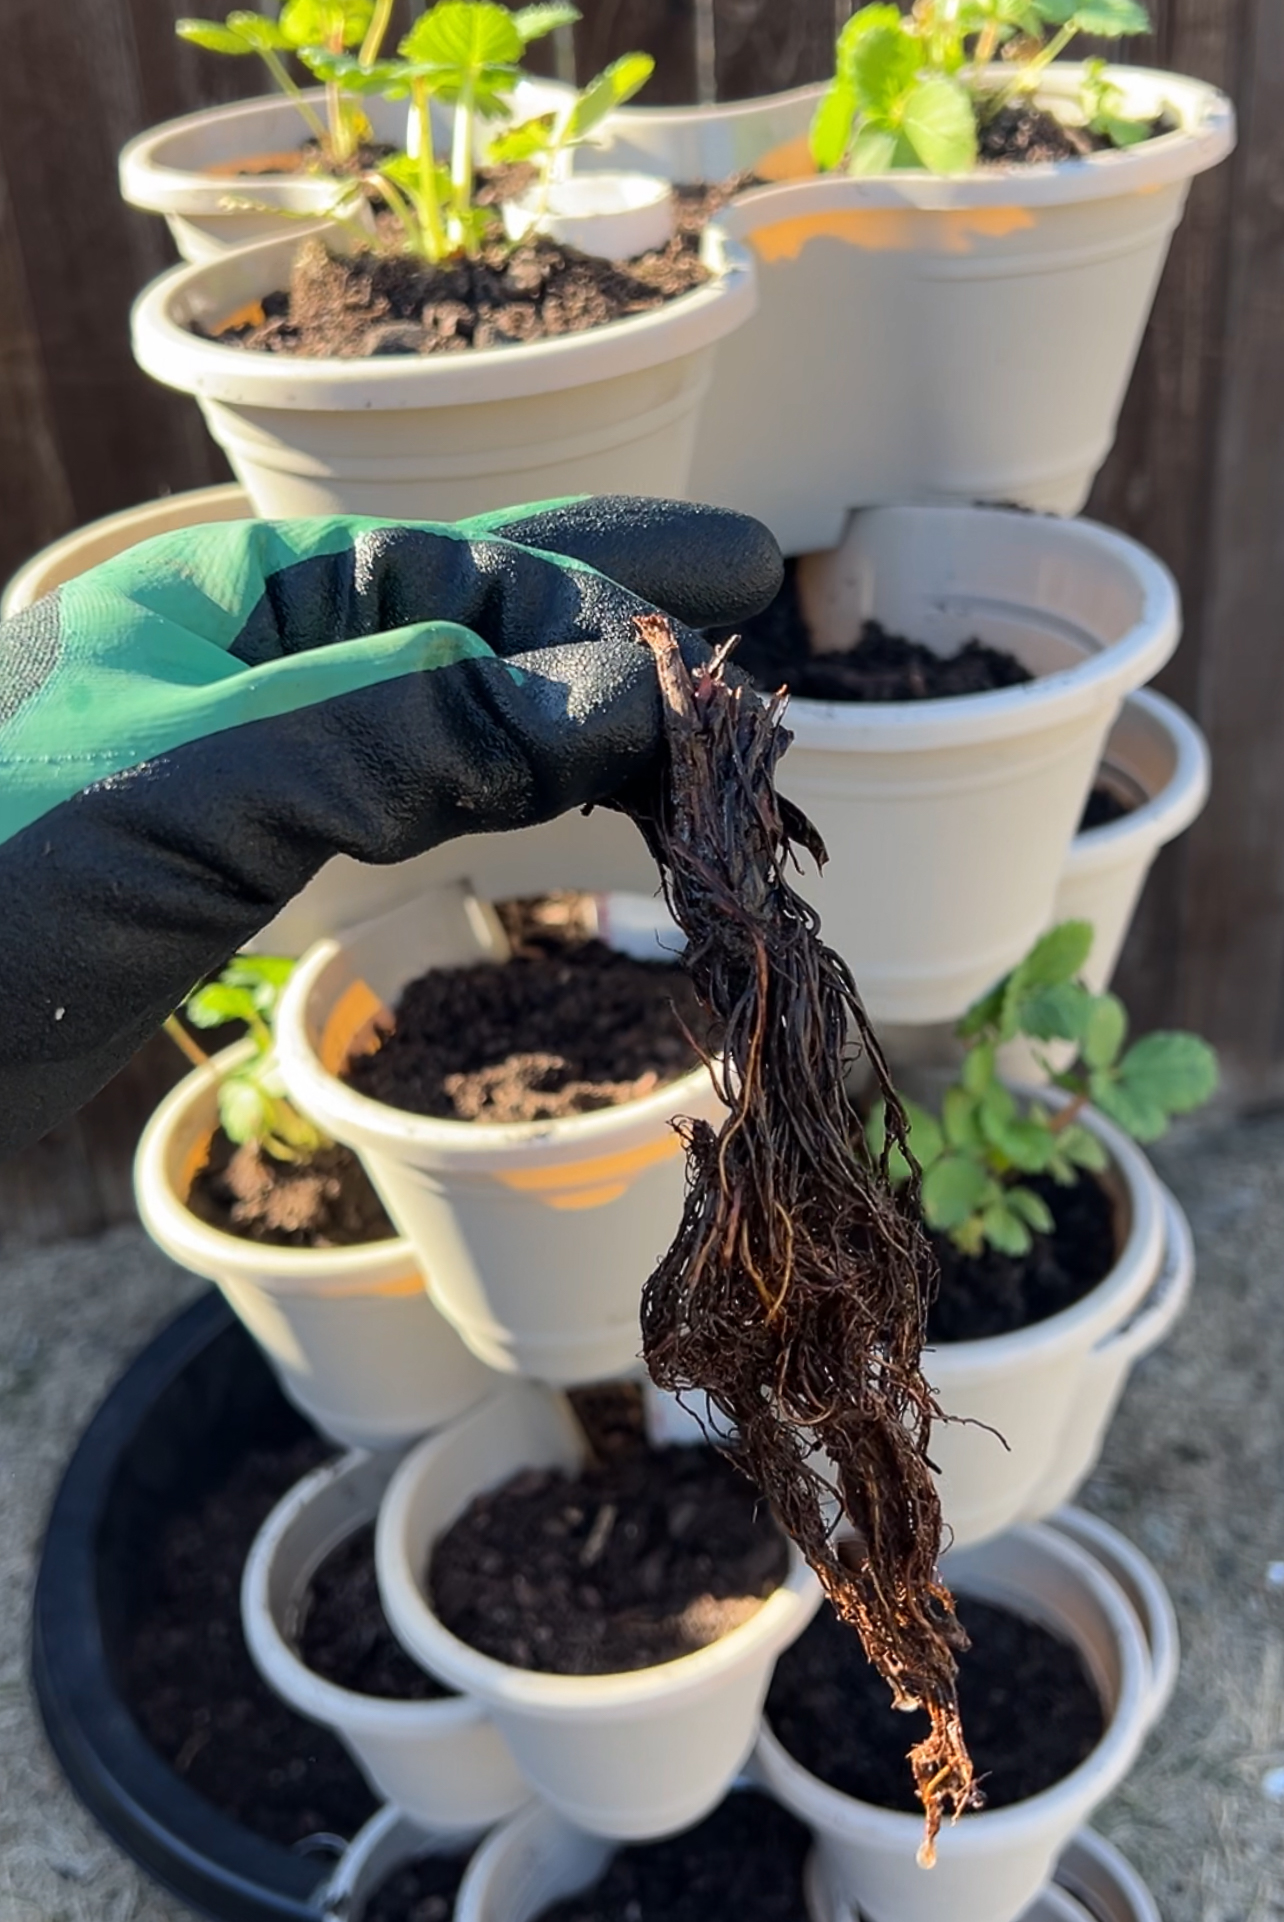
Once they are rinsed clean, bury the root of the plant 2 inches into the soil and leave the crown (the stick looking portion of the root), just barely above the soil. The leaves will begin to sprout off of this section.
Now you could always reserve some of the bare roots in a grocery bag and plant 3 - 6 at a time as you progress throughout the season if you'd like your supply to be rolling, but I was okay with 2 harvesting events. Bare root strawberries usually bloom and produce about 3 months after planting. Do keep in mind, some bare root strawberry breeds may not fruit in abundance on the first year and will produce a higher yield the second year.
Using Hay to Protect Your Strawberries:
When your strawberry plants start to bloom and fruit, you can place hay over the top of the soil to insulate the plant and create a place for the strawberries to rest. This will help keep them from getting moldy as they mature and grow ahead of picking.
How Much Does a Strawberry Tower Cost?
All in, my tower was about $35.
- $10.00 on pots and planters from the Dollar Store
- $5.00 on a PVC Pipe
- $5.00 on a Hole Saw Drill Bit
- $15.00 on Strawberry Plants and Bare Root Strawberry Packages (I got 6 plants and 2 breeds of bare roots.)
- As for the remainder of the supplies, I already had these at my home so I saved a bit there, too!

This was such a fun project (and incredibly easy) to pull off for my garden this year! I'm excited and hopeful about coming back to update this post as my tower starts to fill out this season!
I hope you enjoyed learning how to make your own Strawberry Tower Planter! If you try this out yourself, I'd love to hear about your experience! Leave a comment (that is so helpful for my site!) or snap a photo of yours and tag me on Instagram (@atoastedcrumb) so I can repost it to stories!
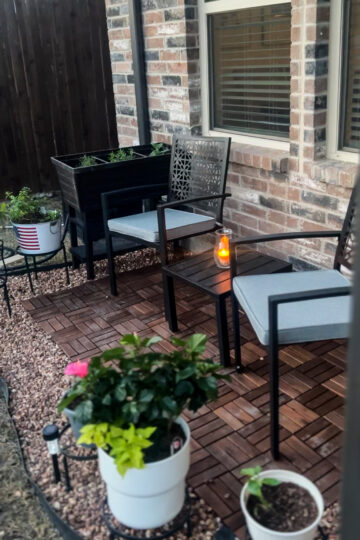
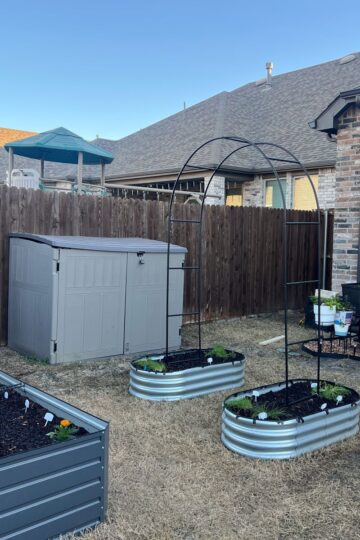
Interested in creating a small dream garden in your backyard? I've got you!
Read the other articles I put together about the entire process!

Leave a Reply