Ever wondered how much it costs to fill those huge raised garden beds? Not much! With the Lasagna Gardening method, you can fill even the largest of raised beds for cheap!

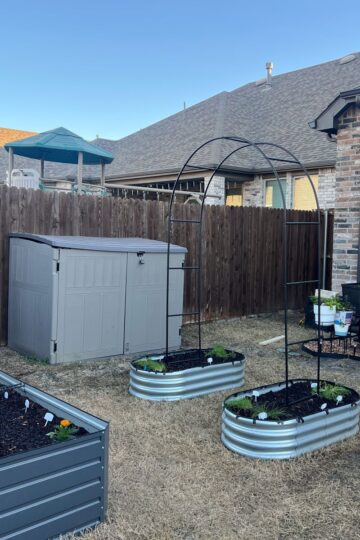
Recently, I did a backyard makeover to build my dream garden in my little backyard in my new-ish build home (we purchased our home in 2020). I purchased 3 raised garden beds, 1 4 x 8 ft bed and 2 2 x 4 ft beds.
Jump to:
I was stressing over how to fill them without spending a fortune and came across an article on Lasagna Gardening on The Spruce. After reading, I was motivated and ready to get moving on filling my beds in prep for the growing season!
Watch the video I made doing it here!
Steps to Fill a Raised Garden Bed (Lasagna Gardening Technique):
Brown Layers:
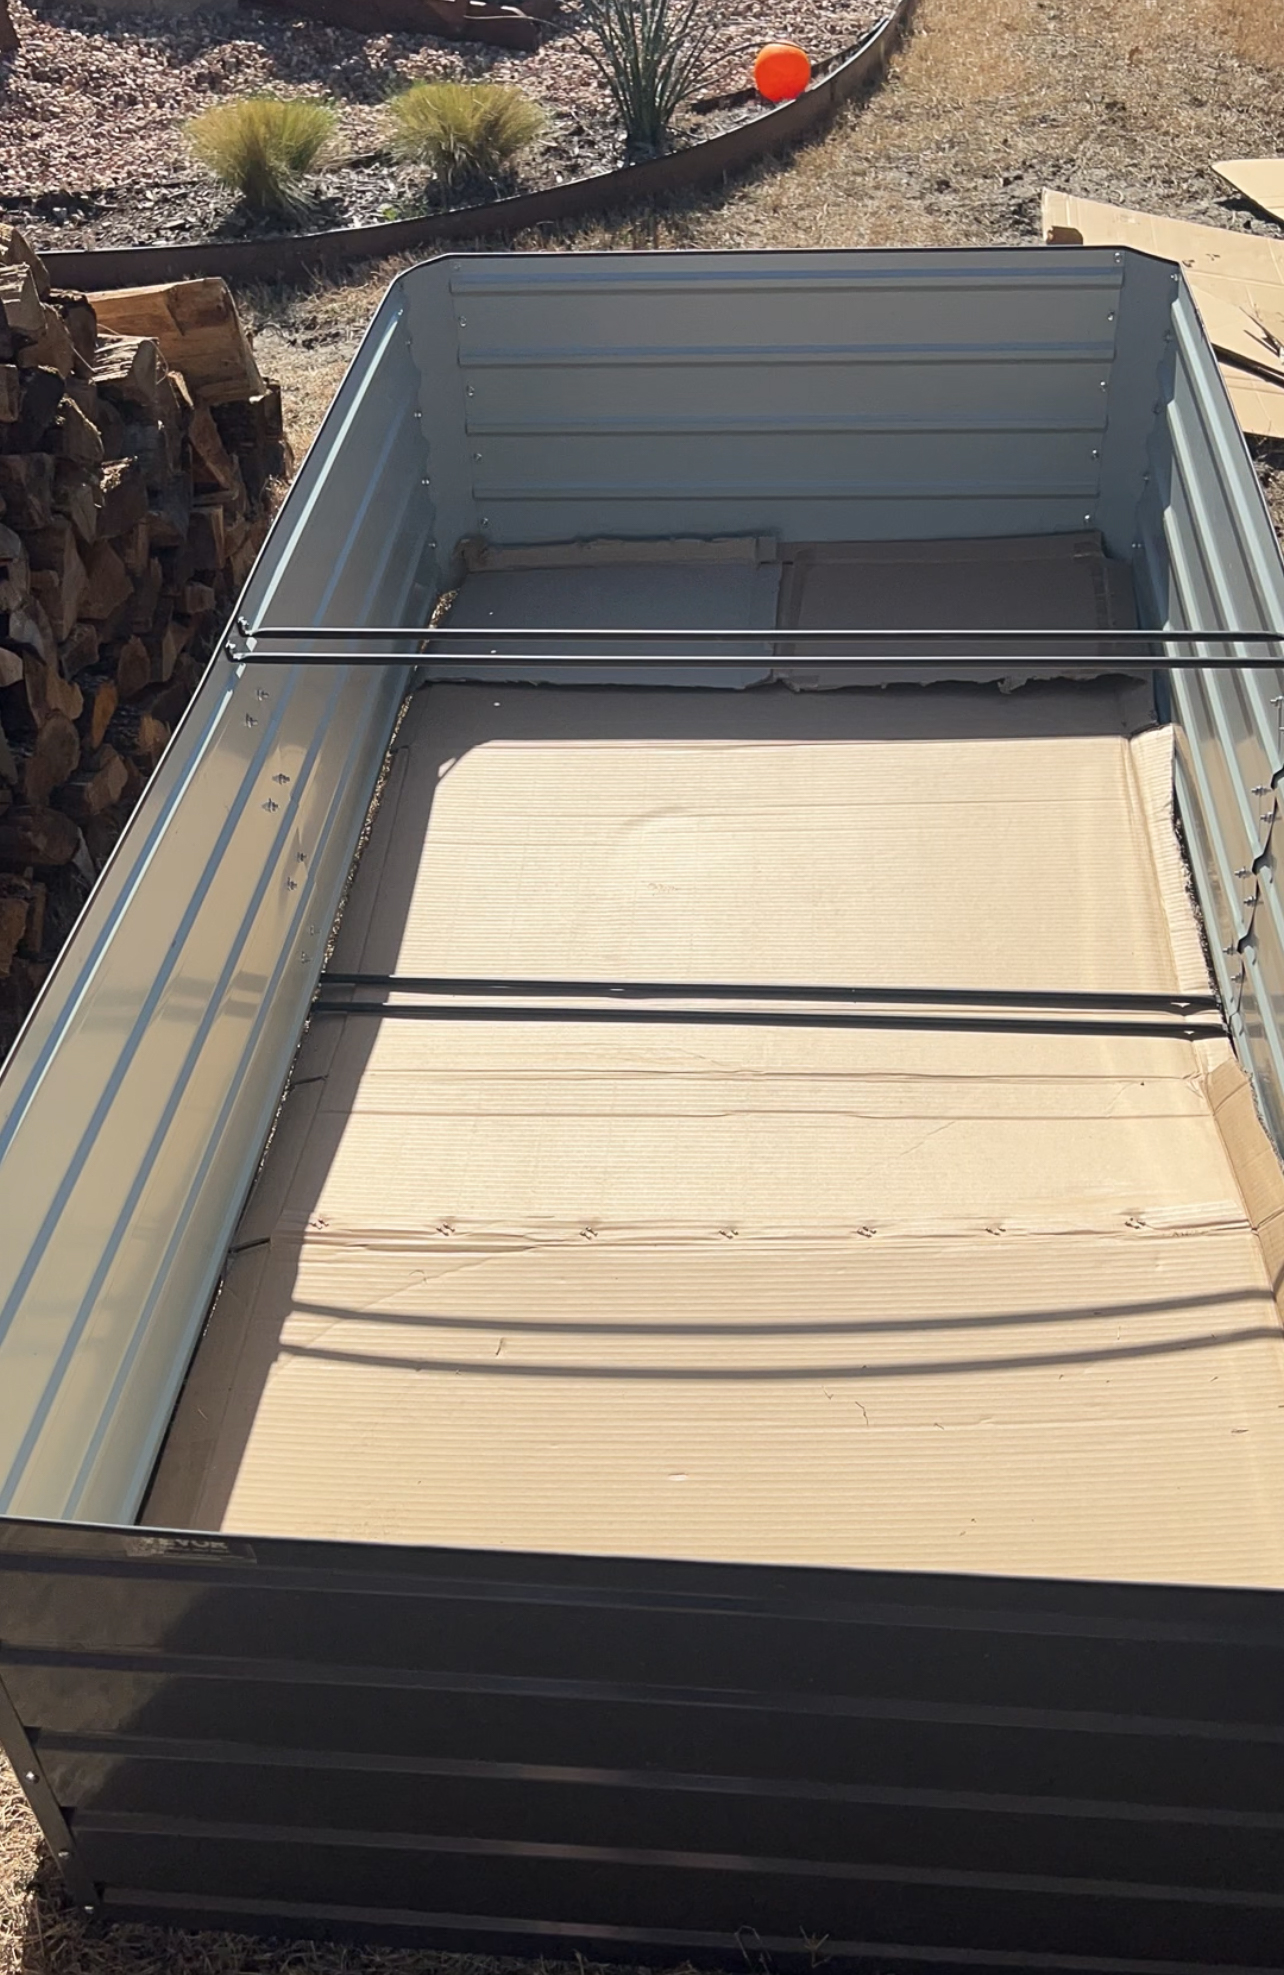
1 - Cardboard
You know you have some Amazon boxes laying around! A layer of cardboard will act as a weed barrier, but the cardboard will breakdown as the weed paper will not.
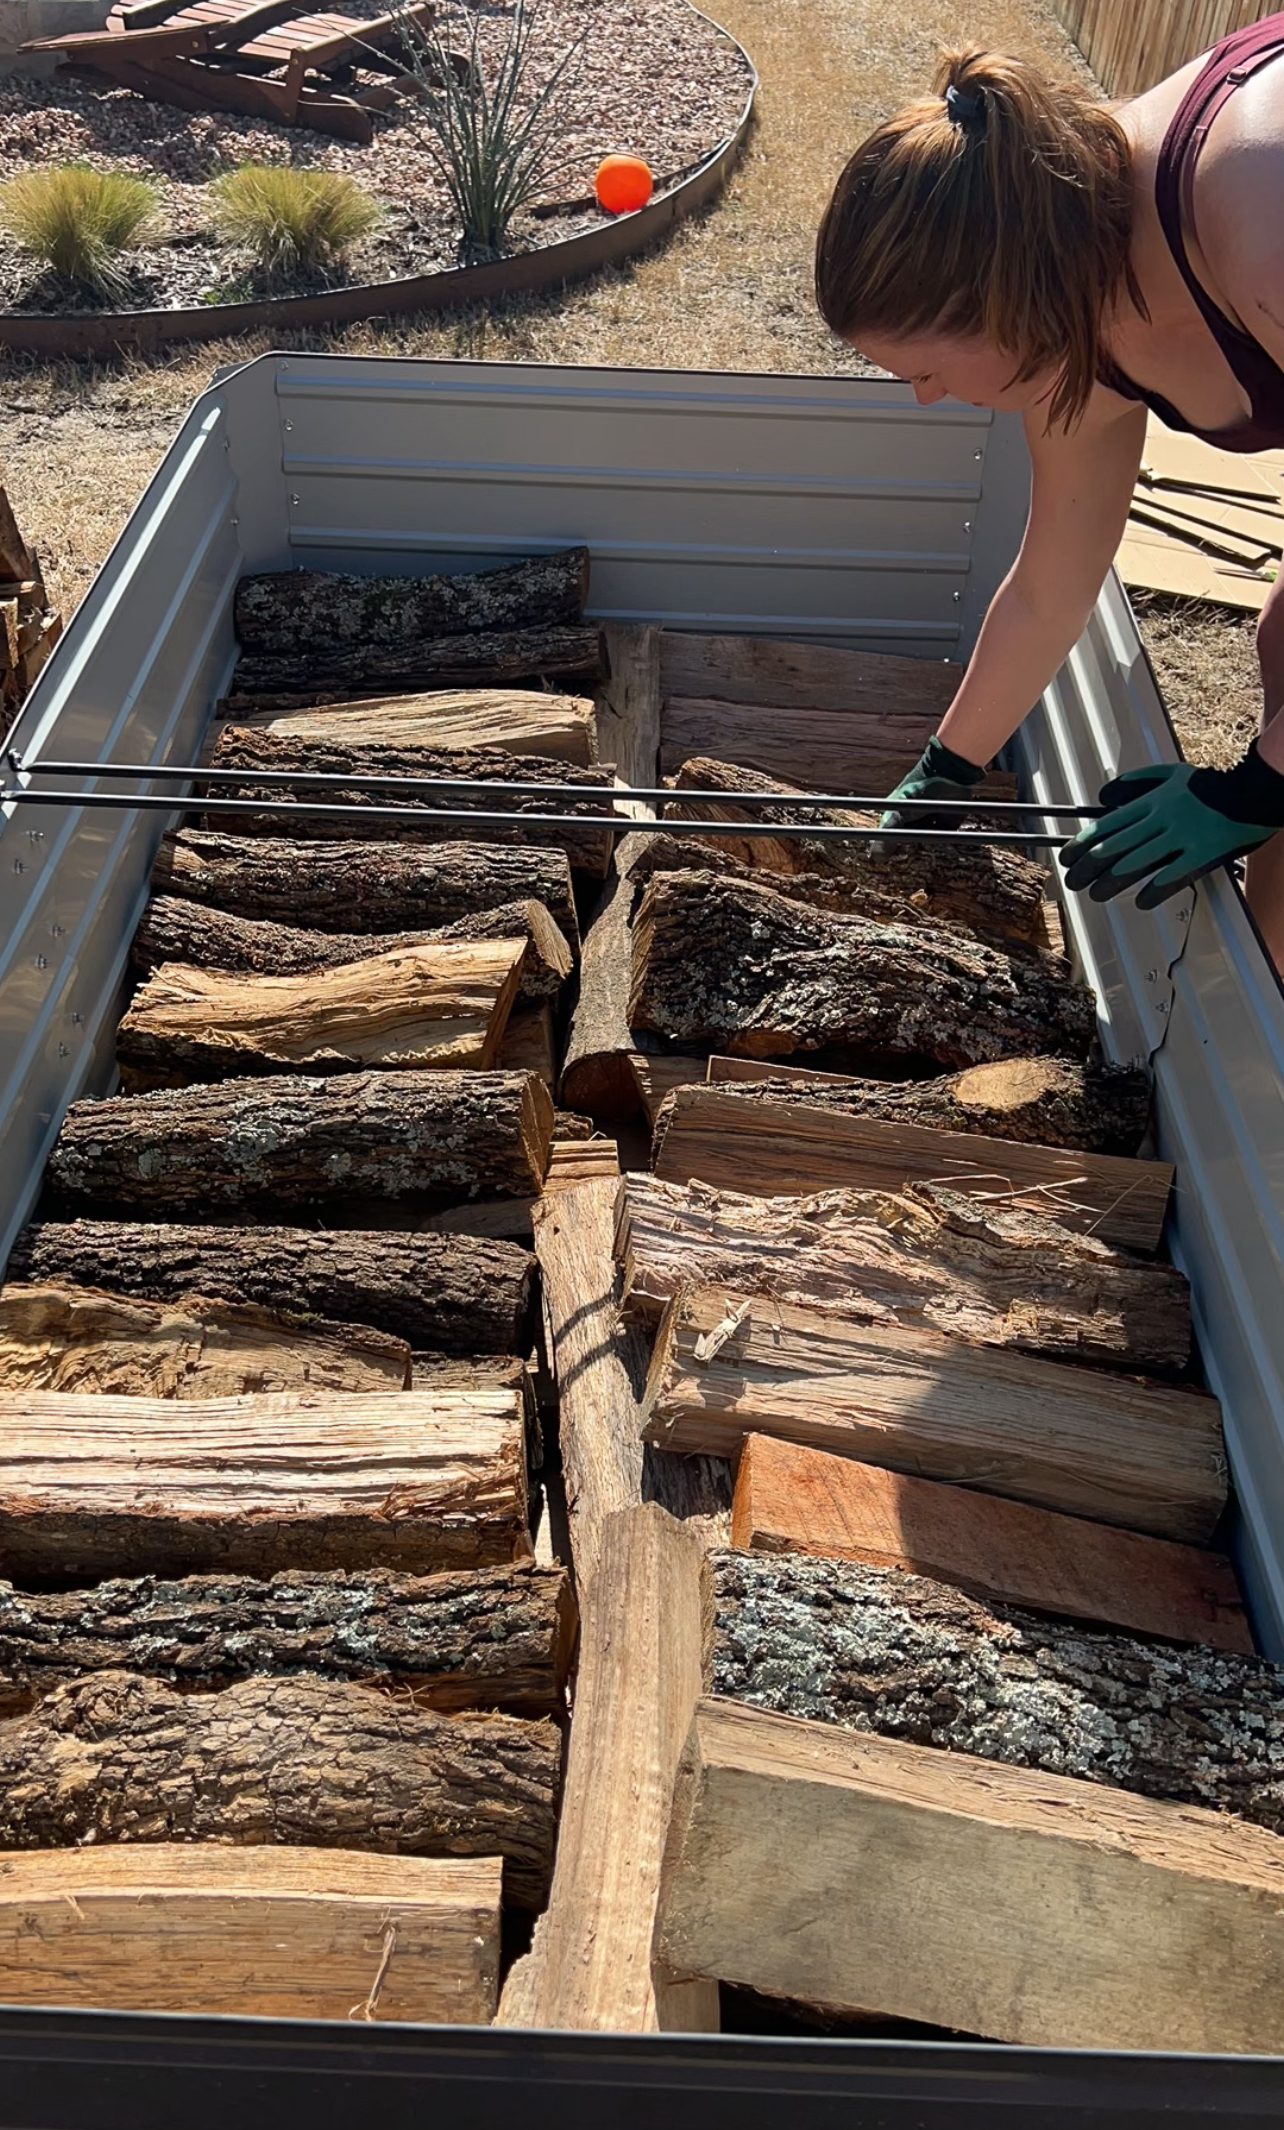
2 - Dried Wood
I got some dried firewood from my local farmers stand. I needed about 2 stacks, or about 60 18 in. pieces of fire wood, to fill my 3 beds. Wood is a great resource for constant organic nutrition for your garden beds. They will take years break down, continuously feeding the soil, and this layer is what will give you the height you need so you aren't bending all the way over into your beds while planting!
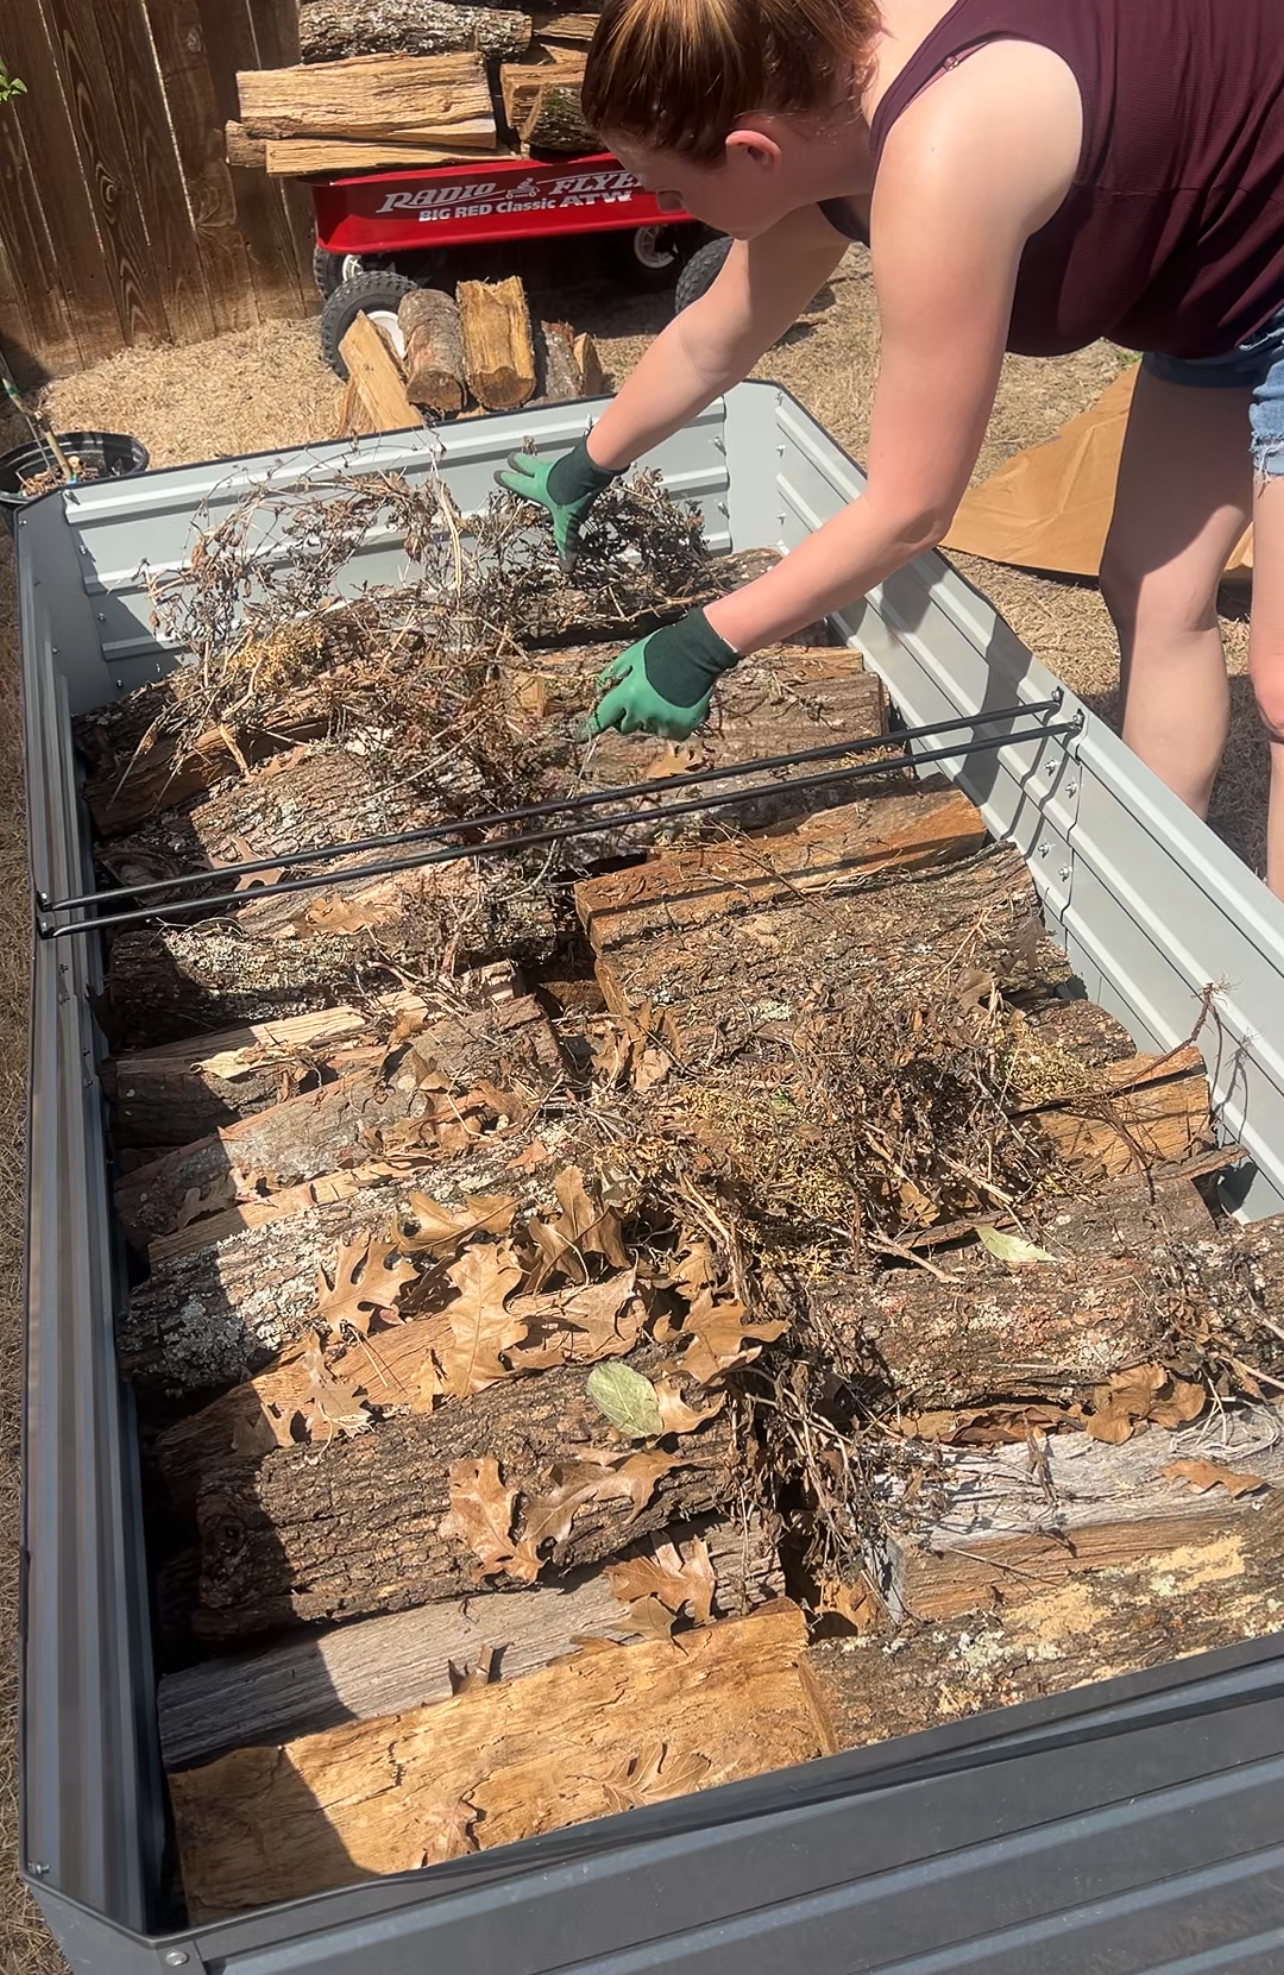
3 - Dried Sticks and Yard Clippings
No need to get fancy here, dried sticks and yard clippings will work here. This is more dried organic material that will break down over time and create great nutrients for your soil. I used some dried sticks from a boxwood shrub that I dug up in our front yard.
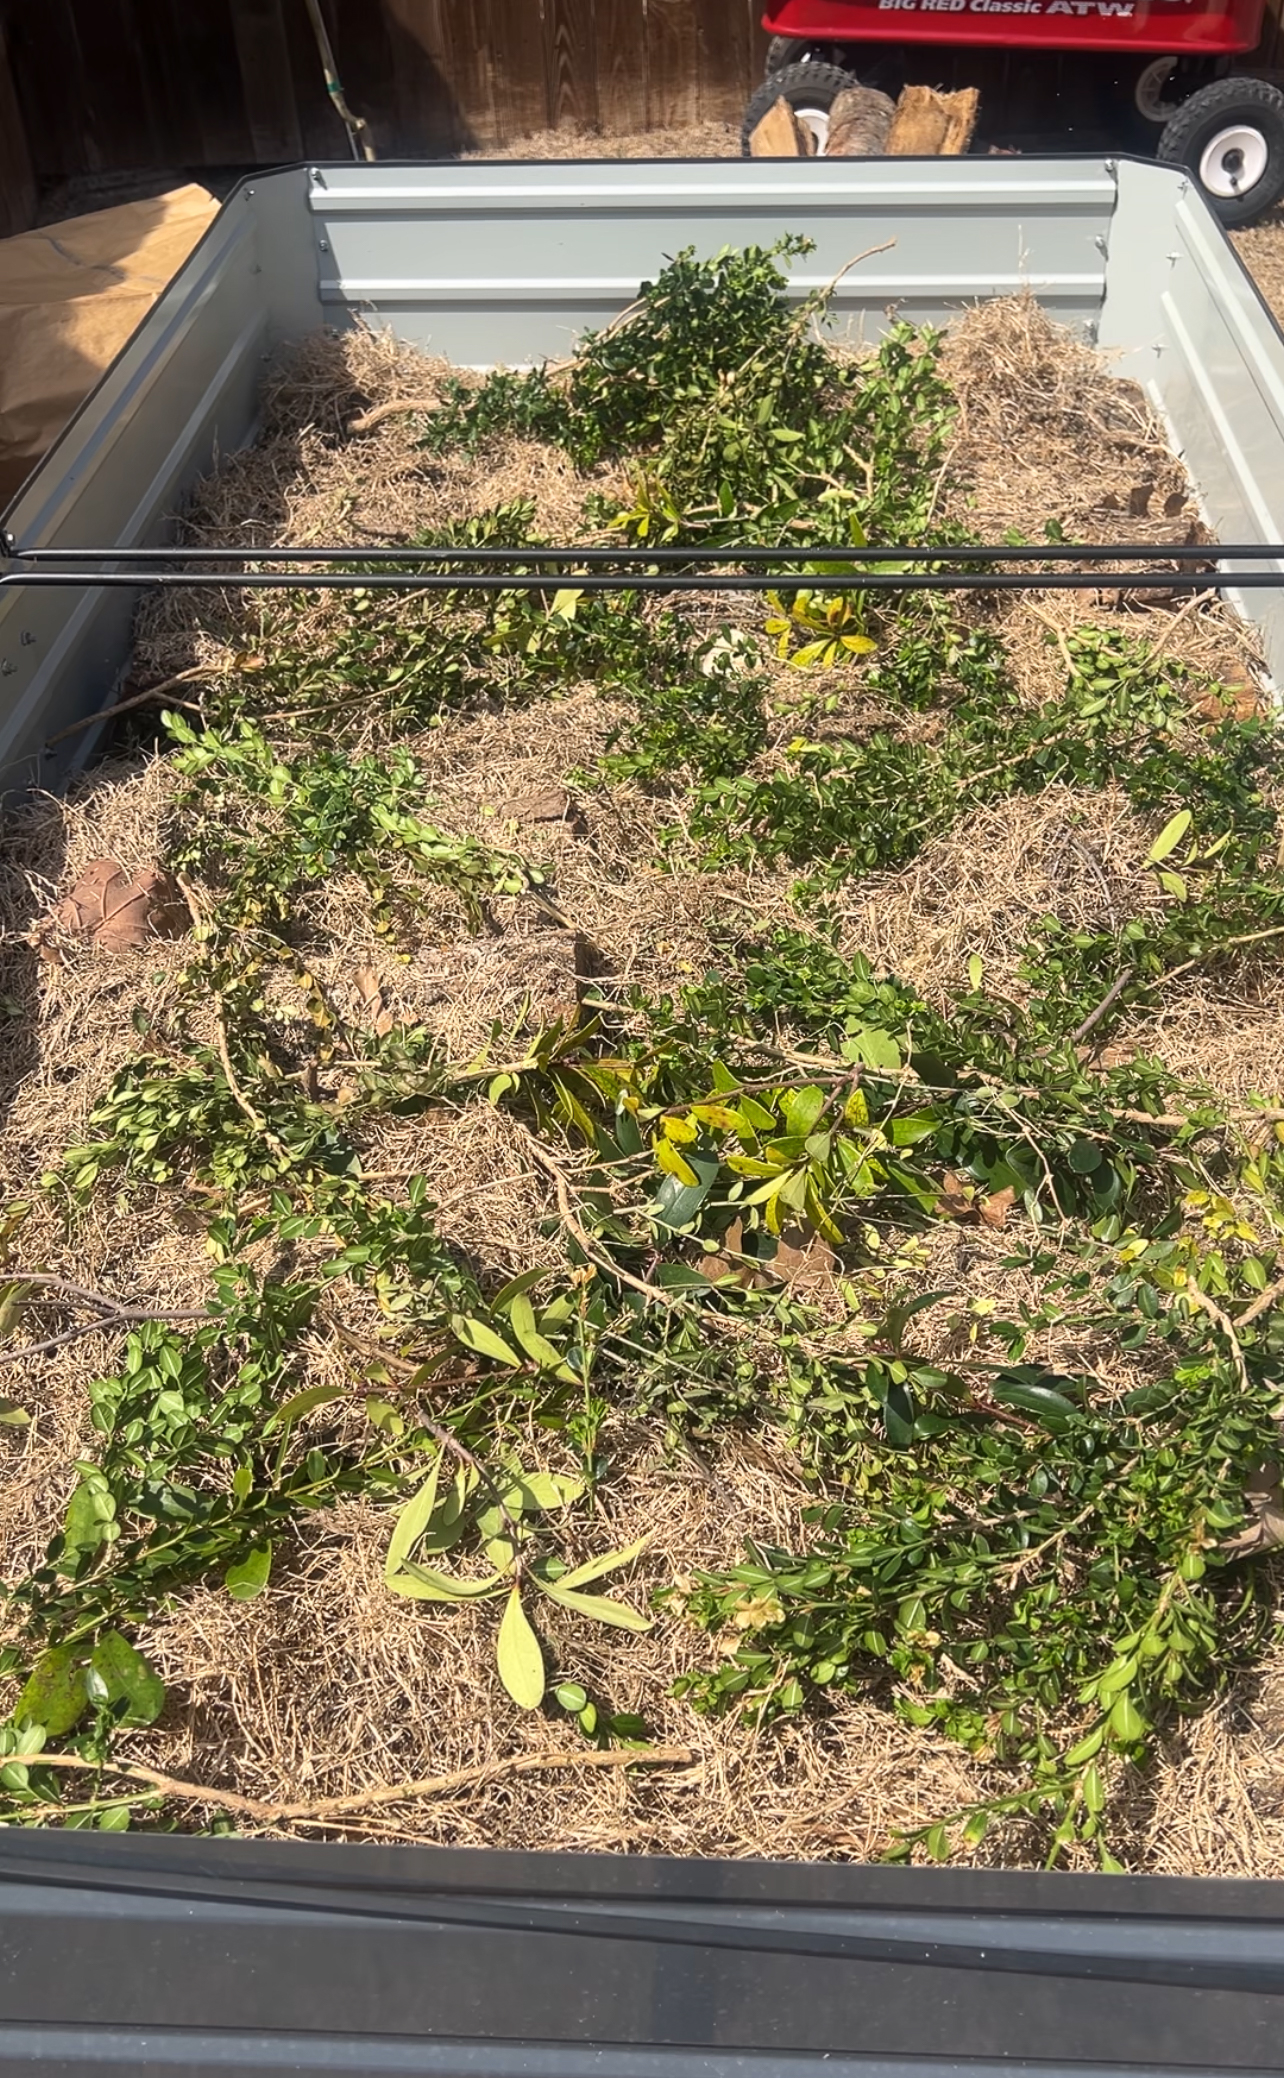
4 - Straw or Grass Clippings (optional, see note)
This step is optional, straw, hay, or grass clippings. I added dried grass clippings (mostly because we had a ton of them), to help create a dense barrier within the brown layer to help retain a lot of moisture. I live in Texas, so finding ways to preserve as much water as possible was necessary for me.
BUT, I am prepared for the possibility of a few weeds poking through the surface from time to time because of this. I'll let you know how that turns out. It's not a guarantee, but a possibility none the less.

Green Layer
4 - Green yard clippings and leaves
Adding green vegetation to your raised beds will help supply nitrogen in the soil, this is necessary for healthy plant growth! Add yard clippings, semi dried leaves that are still green, and perhaps plant trimmings. (I added the green leaves from the boxwood that I dug up.)
5 - Compost, compost, compost!
Possibly the most important ingredient for raised bed success, a great compost! if you don't create your own compost at home, this is a great option for organic raised garden beds.
I'll be purchasing an in home composting system for use this year, as we tend to have a lot of food scraps (since we are an ingredient forward household). But purchasing compost or manure from the nursery or garden store is perfectly fine as well.
When you're looking for organic compost, you want to avoid mixes that are overly rocky or full of pebbles and scraps. It should be brown, be crumbly, have an earthy smell, and be free of pebbles, rocks, plastic, or metal scraps.

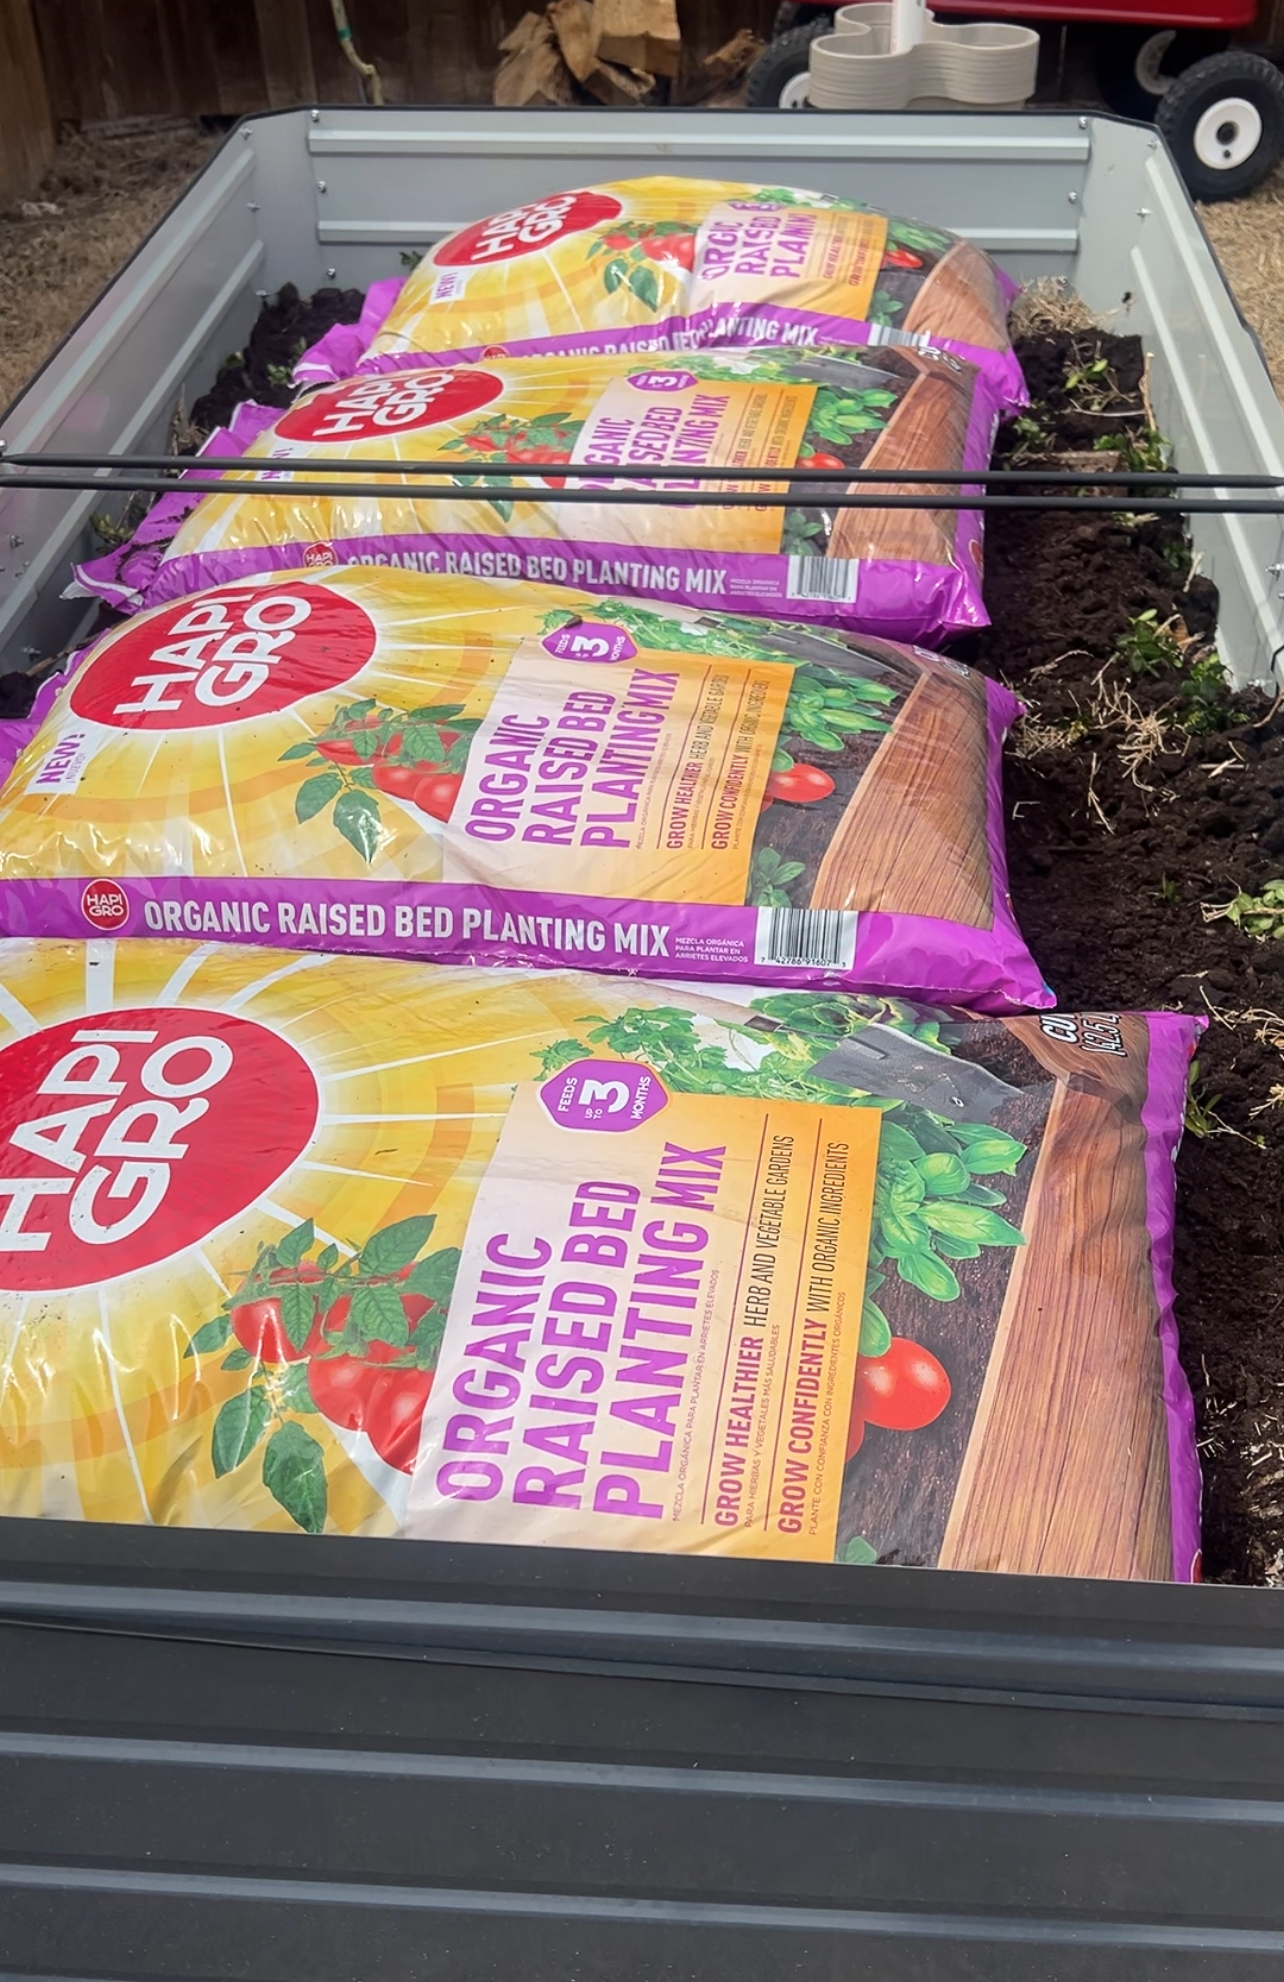
6 - Organic Top Soil
Raised Bed Soil, specifically, is recommended for use in raised beds over potting or garden soil. Raised bed soil contains a higher level of nutrients and moisture holding components than that of potting or top soil. I love this brand.
And that's it, you're ready to plant!
I added some pretty tomato cages to help support my heirloom tomatoes, squash, and zucchini that I've placed along the center of my garden bed. (In hindsight, I would have placed these towers before I filled the beds in. It would have been much easier to make them stable this way. I ended up having to pull out quite a few pieces of wood in the process of getting them in.)
I hope you learned a little something about Lasagna Gardening! If you enjoyed this post, I encourage you to leave a comment! (That is so helpful for my site!) If you try this out yourself, I'd love to hear about your experience! Snap a photo and tag me on Instagram (@atoastedcrumb) so I can repost it to stories!
Interested in creating a small dream garden in your backyard? I've got you!
Read the other articles I put together about the entire process!

Leave a Reply