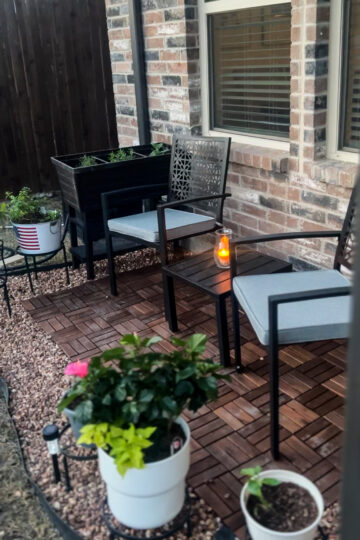
Recently, I took on the task of adding yet another "hang out spot" in our little backyard as part of my garden project makeover! I adding a sweet little temporary deck just off of our main porch to create a seating area that over looked the garden.
My vision for this space was just to be an area where I could put a small table and chairs, a waist height herb garden, and an assortment of potted flowers and plants.
Creating this space was easy and took just 2 afternoons!
Jump to:
Supplies to Build a Temporary Patio Deck:
- Weed Paper
- Landscaping Staples
- Paver Sand
- Click Together Deck Tiles
- No Dig Landscaping Border with Spikes
- Rubber Mallet
- River Rock
- 2 12x12 pavers (I just purchased plain cement pavers from my local Lowe's. They were about $2.00 each.)
- Furniture and Decor: Patio Table and Chairs, Seat Cushions, Herb Garden Raised Planter, Plant Stands
This was intended to be a temporary space that felt permanent. (I understand that our needs for our backyard may change with a toddler and a growing garden, so I didn't want to hire a contractor or pour any permanent cement in this space.)
Steps to Build a Temporary Deck with Click Together Tiles:
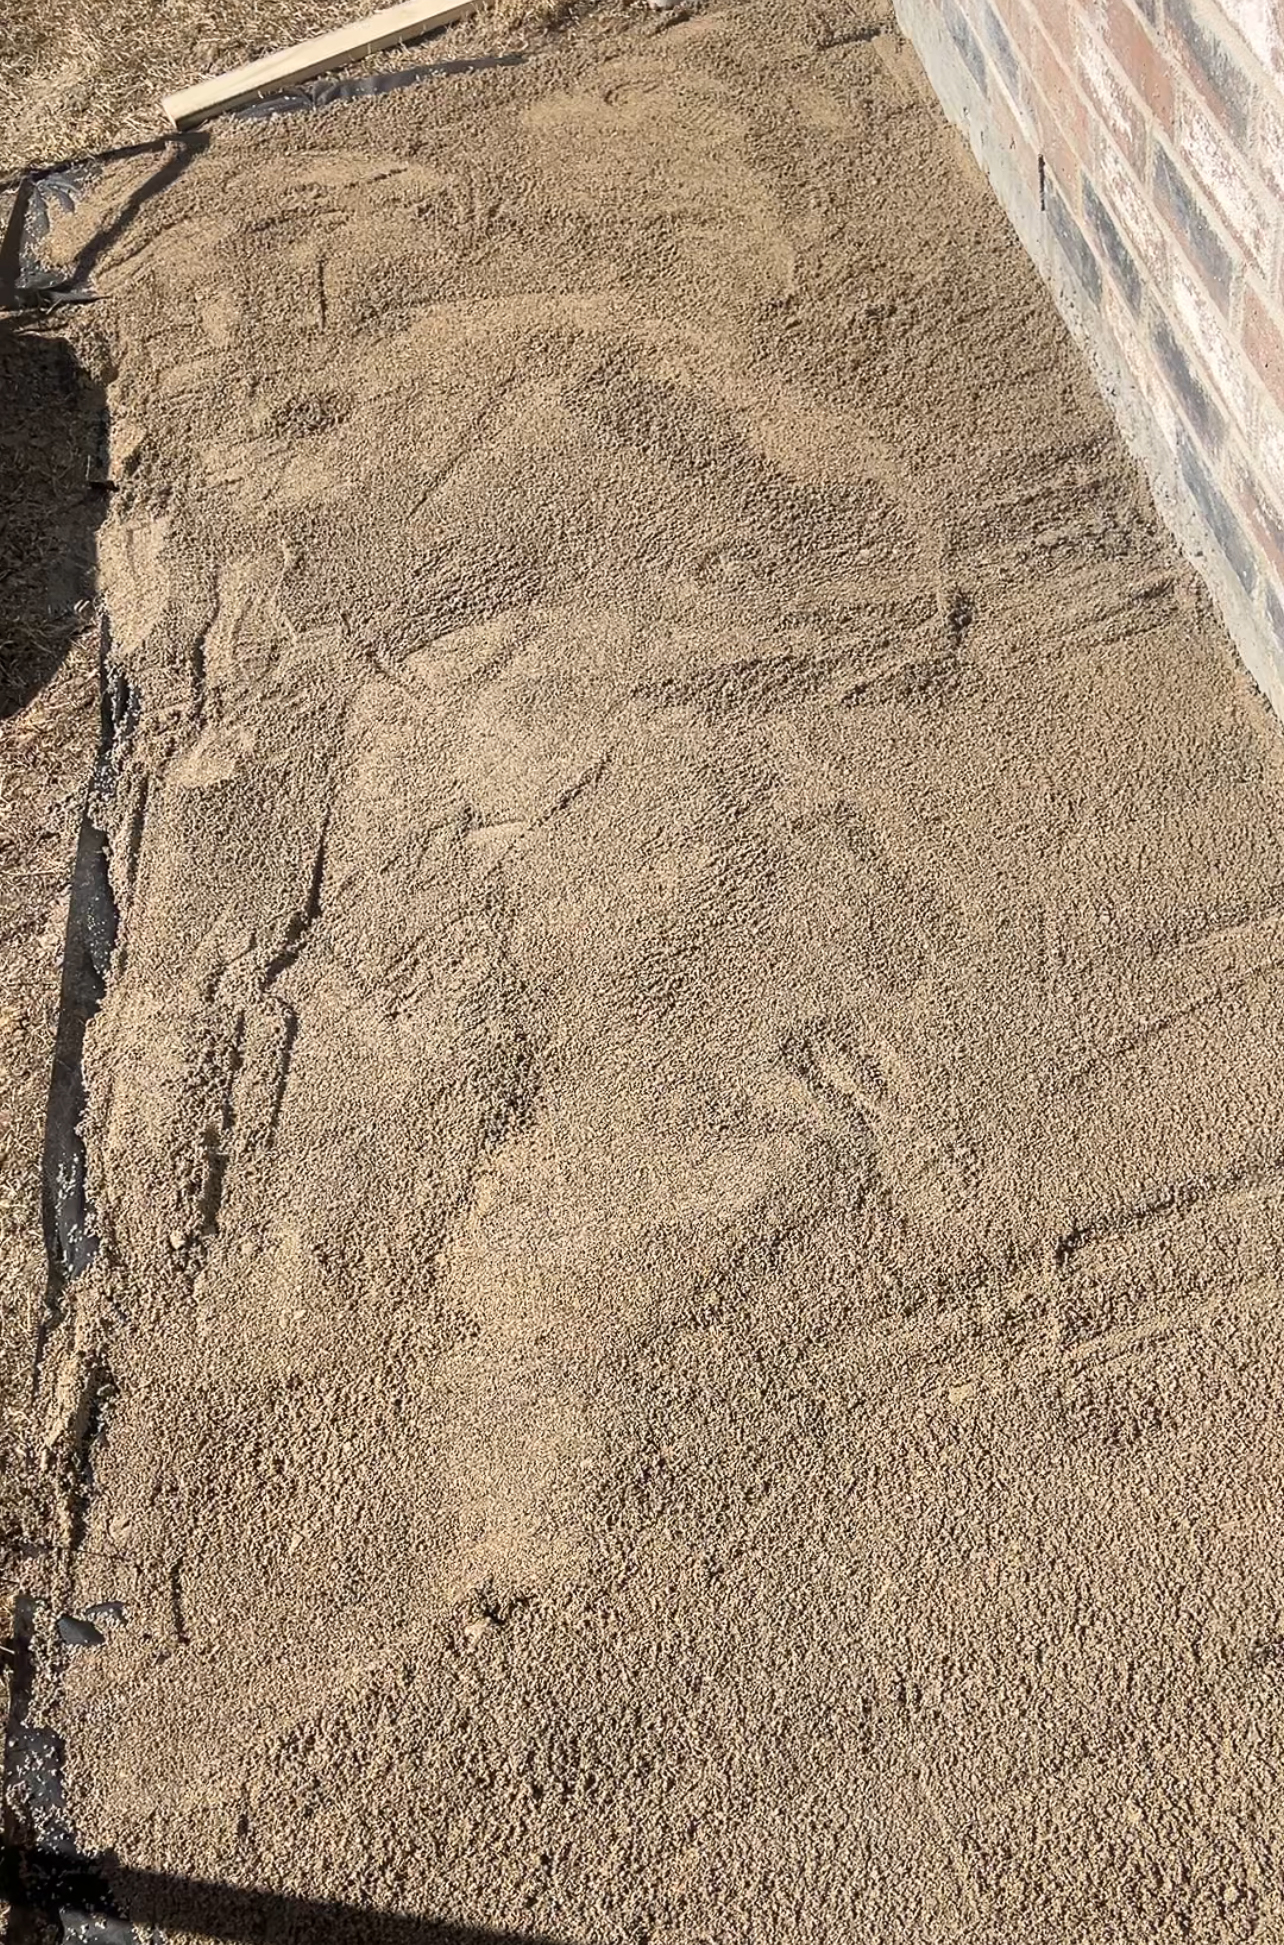
So I dug up the small amount of grass that was holding on by a thread, put down some weed paper, and then "leveled" the ground with some paver sand.
The space was about 28 square feet and I used a total of 6 bags of sand. (The bags I used were 0.5 cu. ft.) I ended up with about 2 inches of sand to level when everything was all said and done.
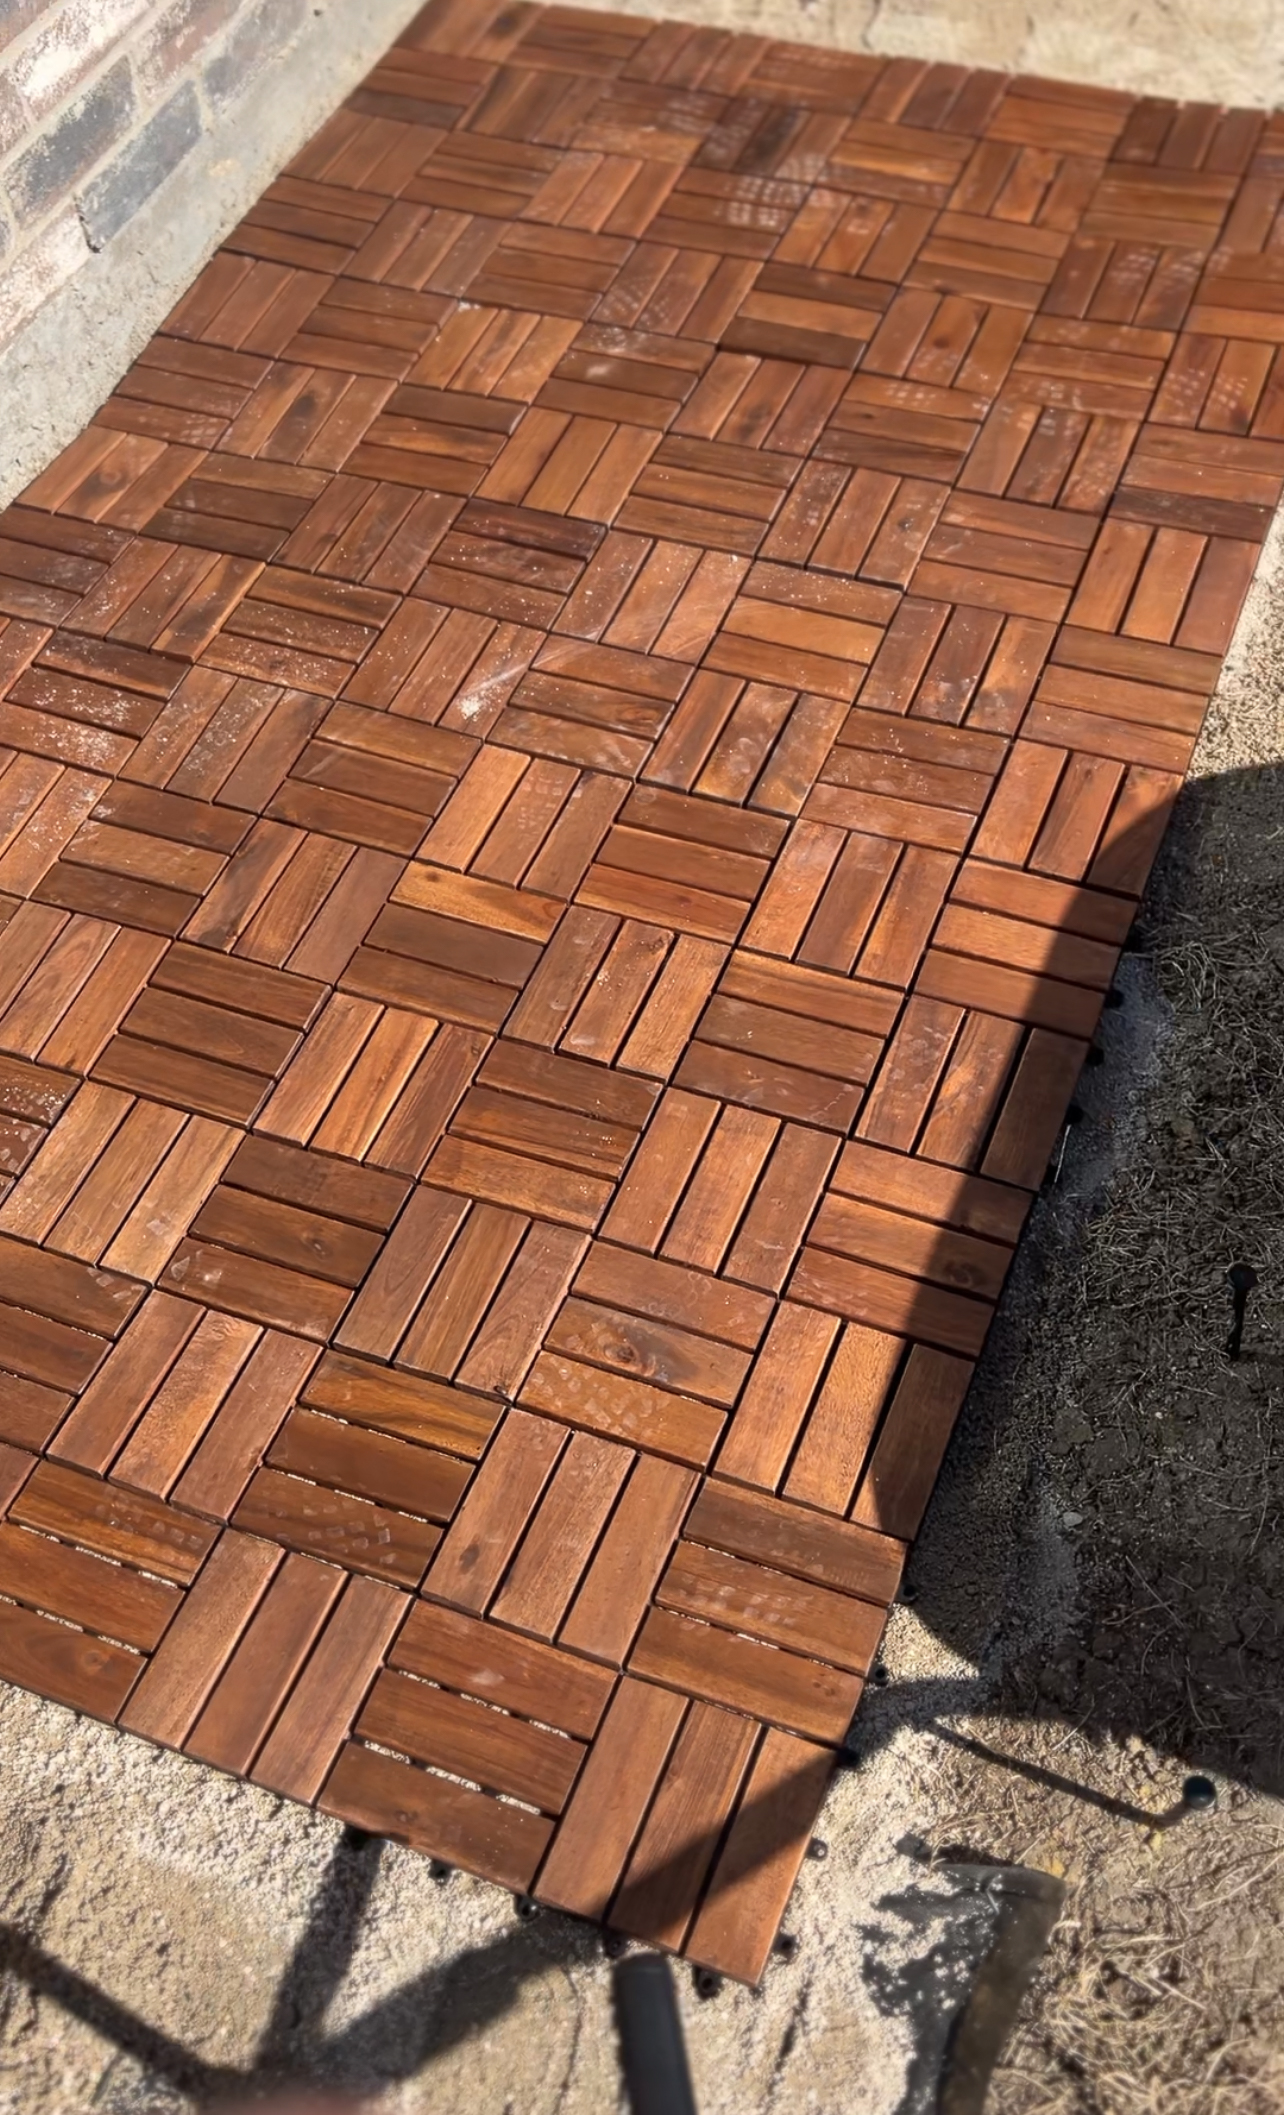
After getting all of my sand leveled (I just used a good old piece of wood to drag across the top of the sand), I got to work on the deck tiles. I used these amazing temporary click-together deck tiles that I got from Amazon! I absolutely loved working with these! The entire deck was put together in 20 minutes flat! (I purchased 3 boxes for my 28 sq. ft. space.)
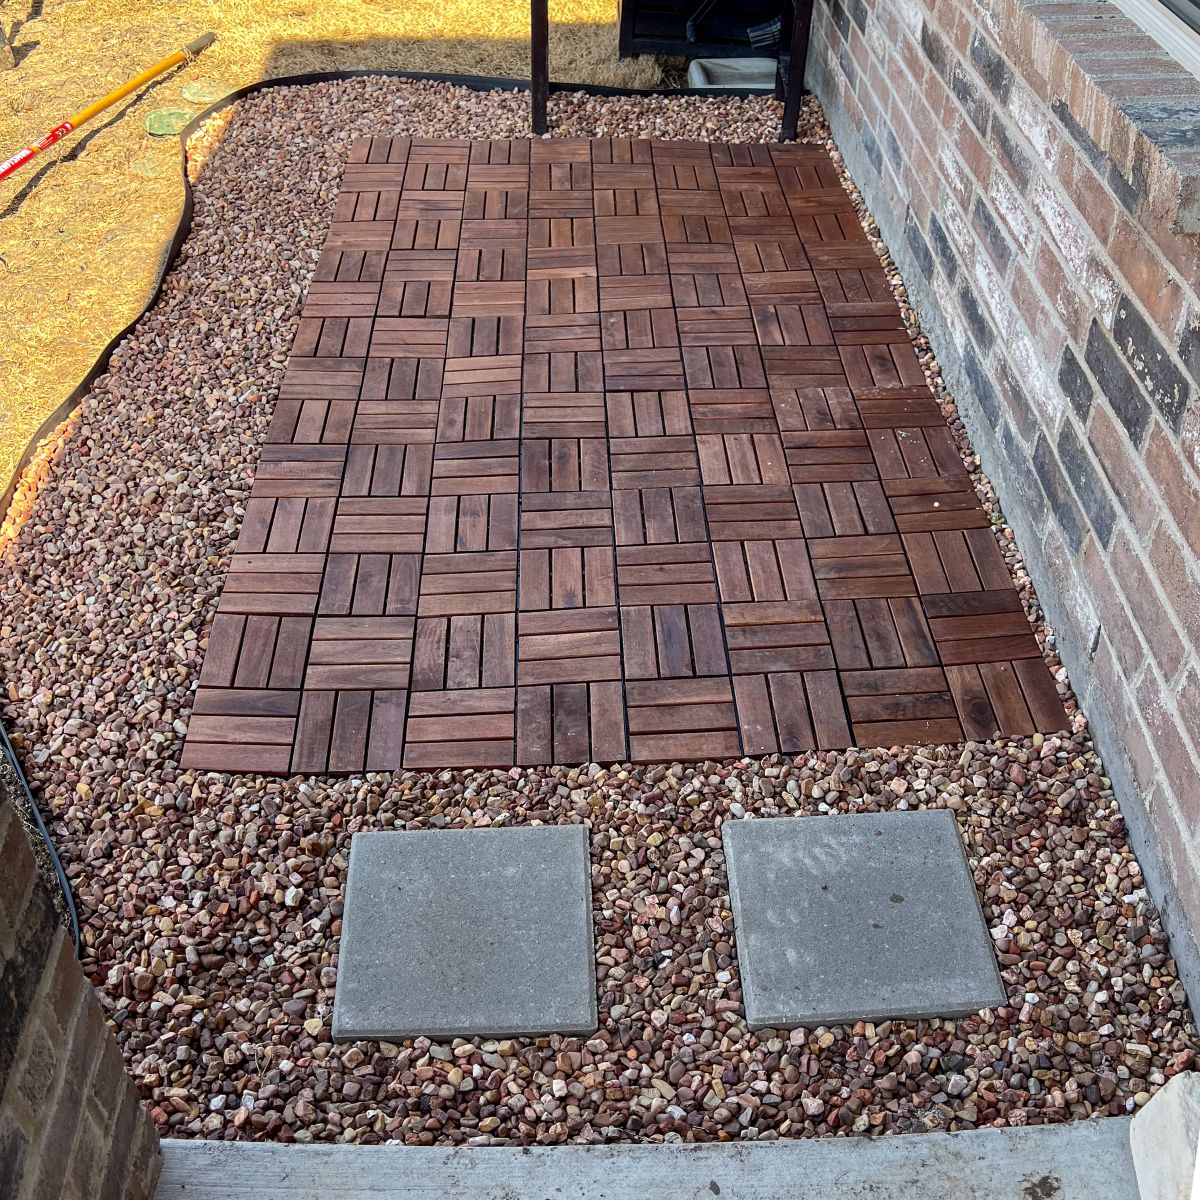
After laying the sand, I laid out a nice natural curved edge about 1.5 ft from the outside of the decking with some no-dig landscape edging. My plan here was to fill in this border space with river rocks from our fire pit, allowing me to create a space to store some potted plants and herbs. I loved the look this gave to the hard edge on the deck tiles!
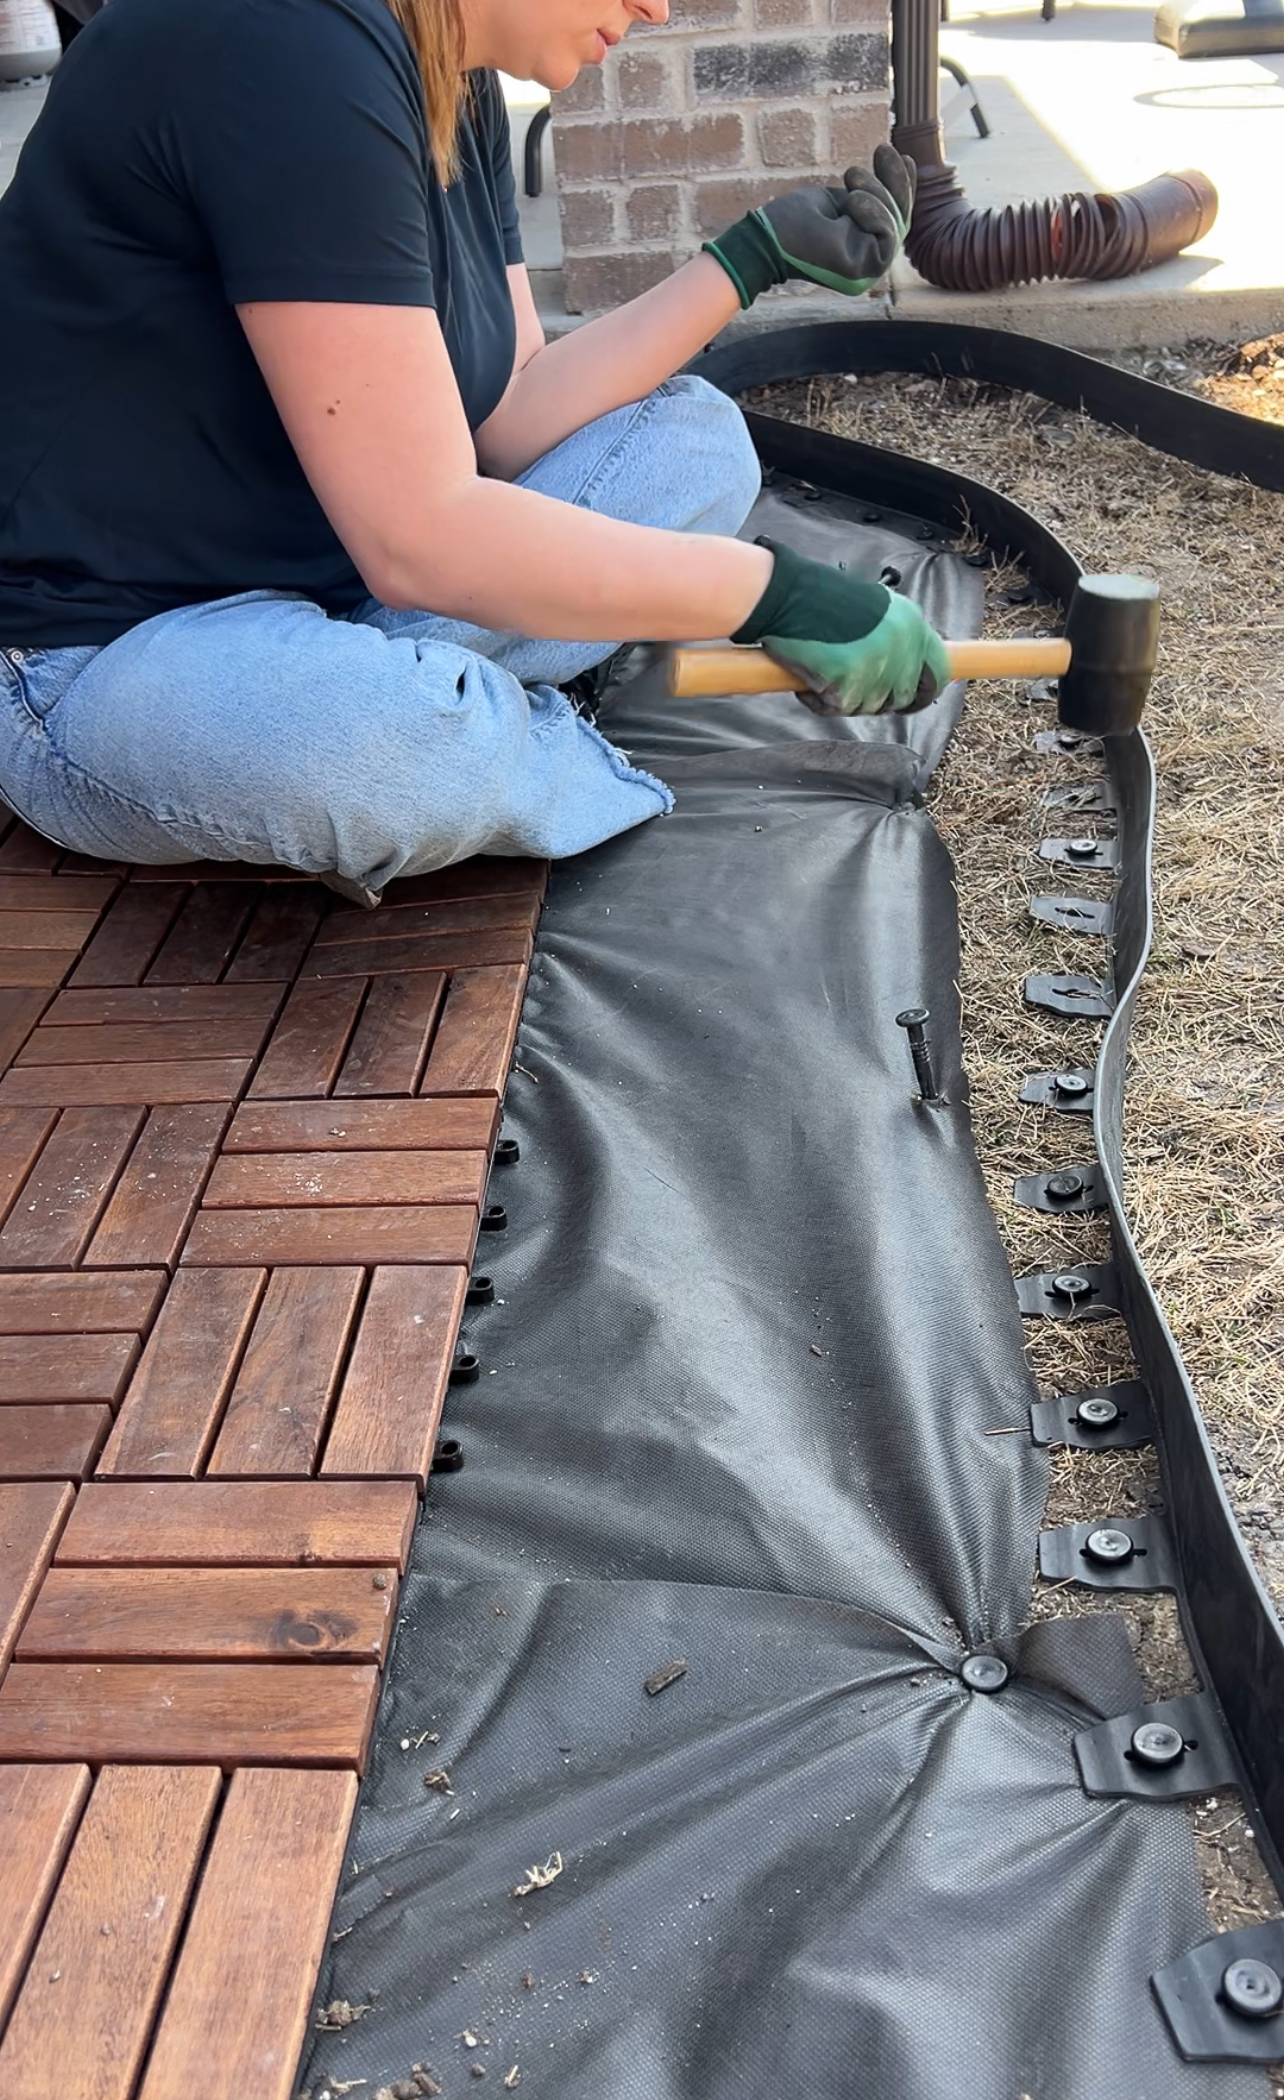
The no-dig landscaping border was so easy to use! I just used a rubber mallet to pound the included border spikes into the ground. (I could easily pull these up with just my hand if and when we ever need to pull this area up.)
Once I landed on the curves shape that I liked, I filled the rest of the area in with rocks from our fire pit, so everything across the yard would match. (For the border, I used about 6 sq. ft. of filler river rock.)

To connect our main patio to our new "deck" I just used some basic 12 x 12 pavers to place in between the two spaces, and then surrounded those with the same river rock. The standard grey pavers leading into the wooden deck kind of helped bring everything together.
I was so happy with how this project turned out! It was incredibly simple to accomplish and I'd do it again in a heartbeat!
I was thrilled to pick out some simple patio furniture for our new space and add all of my pots and flowers. I added my herb planter along the side of the deck to make herb picking effortless throughout the season. (Having fresh herbs is a non-negotiable for me as our in-home chef; just part of the package deal.)

Watch the video of the entire process on my Instagram!
I hope you enjoyed reading about my experience building my own temporary deck with click together deck tiles! I encourage you to leave a comment! (That is so helpful for my site!) If you try this out yourself, I'd love to hear about your experience! Snap a photo and tag me on Instagram (@atoastedcrumb) so I can repost it to stories!
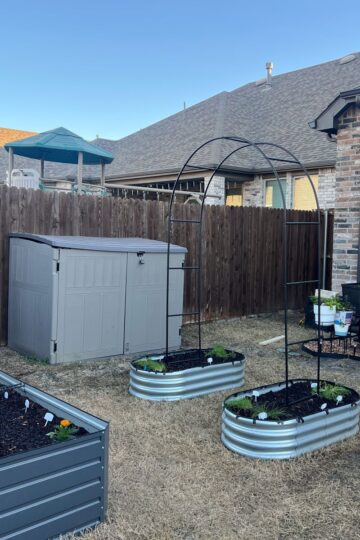
Interested in creating a small dream garden in your backyard? I've got you!
Read the other articles I put together about the entire process!

Leave a Reply